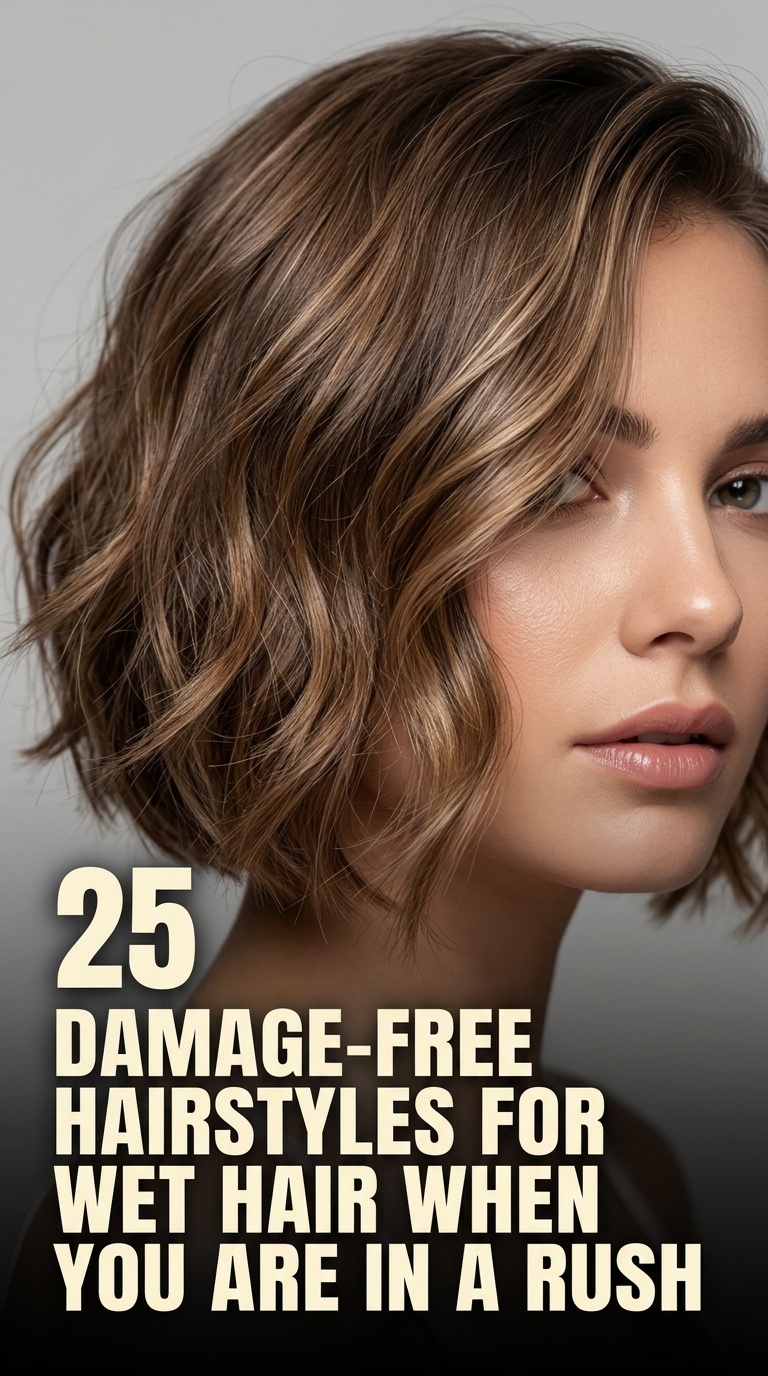
Washing hair takes time. Drying it takes even longer. Sometimes, you simply don’t have the luxury of a full blow-out before heading out the door.
Wet hair is extremely fragile. It stretches and snaps much easier than dry hair. Finding styles that protect your strands while looking polished is a total game-changer.
This guide covers twenty-five effortless looks. These styles prioritize hair health and speed. You can look professional and put-together without risking breakage or heat damage.
1. The Classic Low Sleek Bun
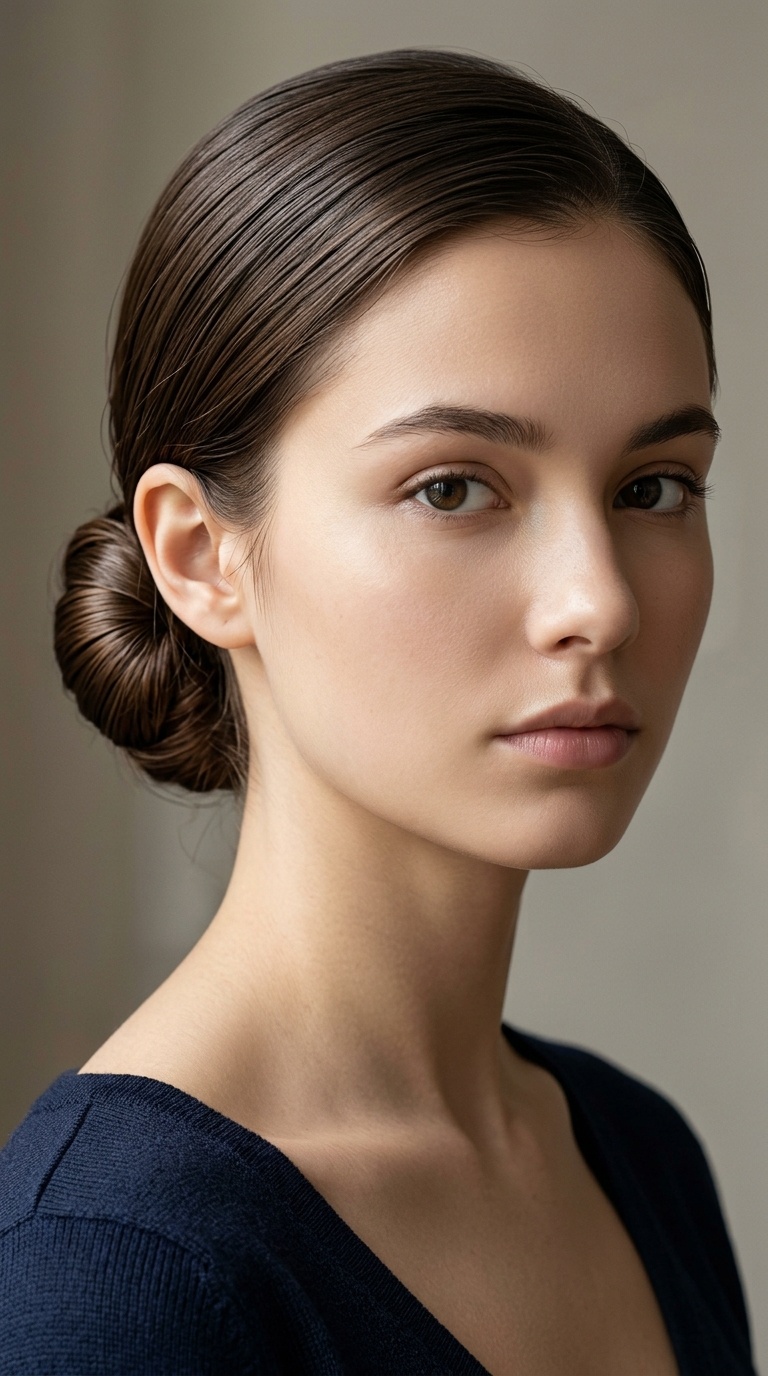
The low sleek bun is the ultimate solution for professional environments. Because your hair is already damp, it naturally smooths down without the need for heavy gels or hairsprays.
Simply gather your hair at the nape of your neck and secure it with a silk scrunchie. Twist the length of the hair around the base and tuck the ends under.
This style keeps your ends protected from friction against your clothes. It is a damage-free way to look elegant in less than two minutes while your hair air-dries safely.
2. Loose Three-Strand Braid
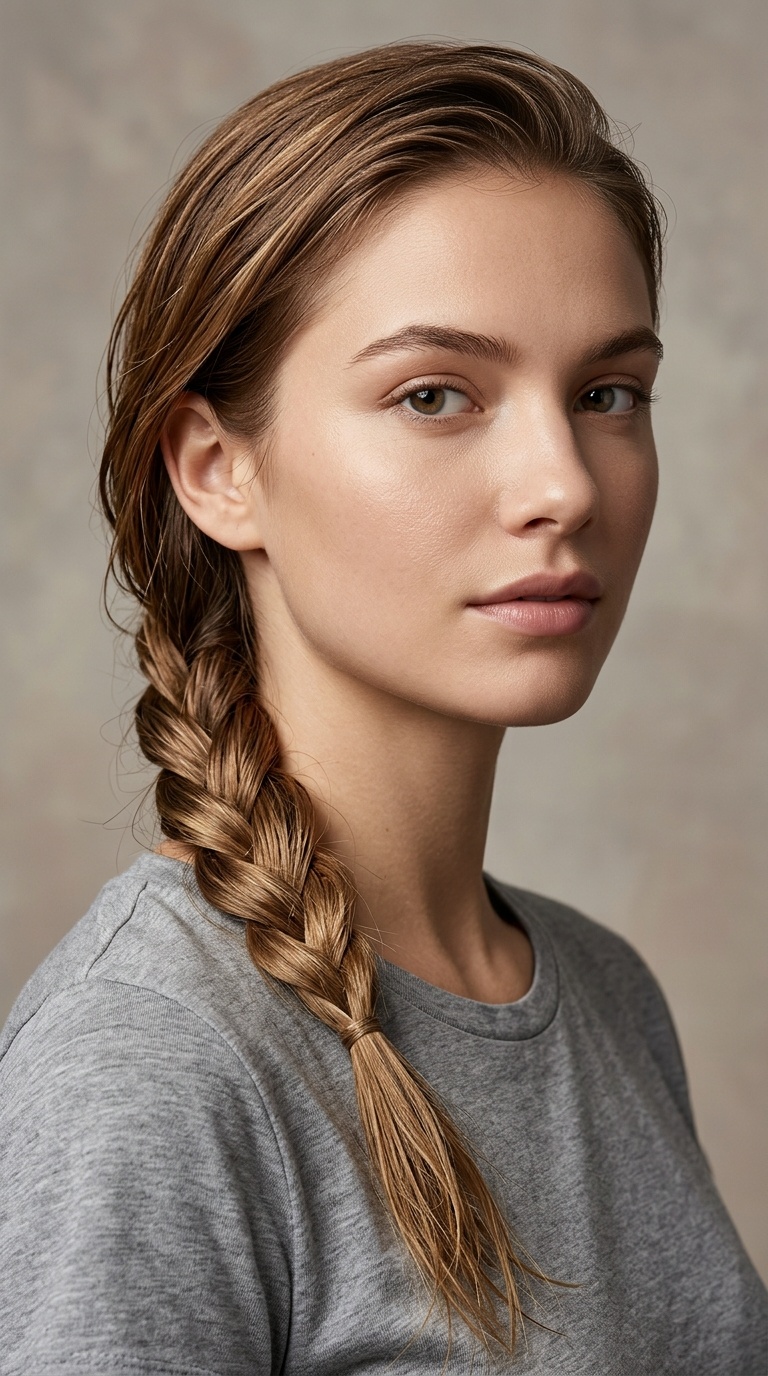
A loose braid is perhaps the safest way to manage wet hair. It contains the strands to prevent tangling but doesn’t apply excessive tension to the scalp or the hair shaft.
Begin at the base of your neck and divide your hair into three equal sections. Cross them over one another loosely and secure the end with a soft elastics.
By the time your hair dries, you will be left with soft, heatless waves. This dual-purpose style saves time both in the morning and for your evening look.
3. The High Top Knot
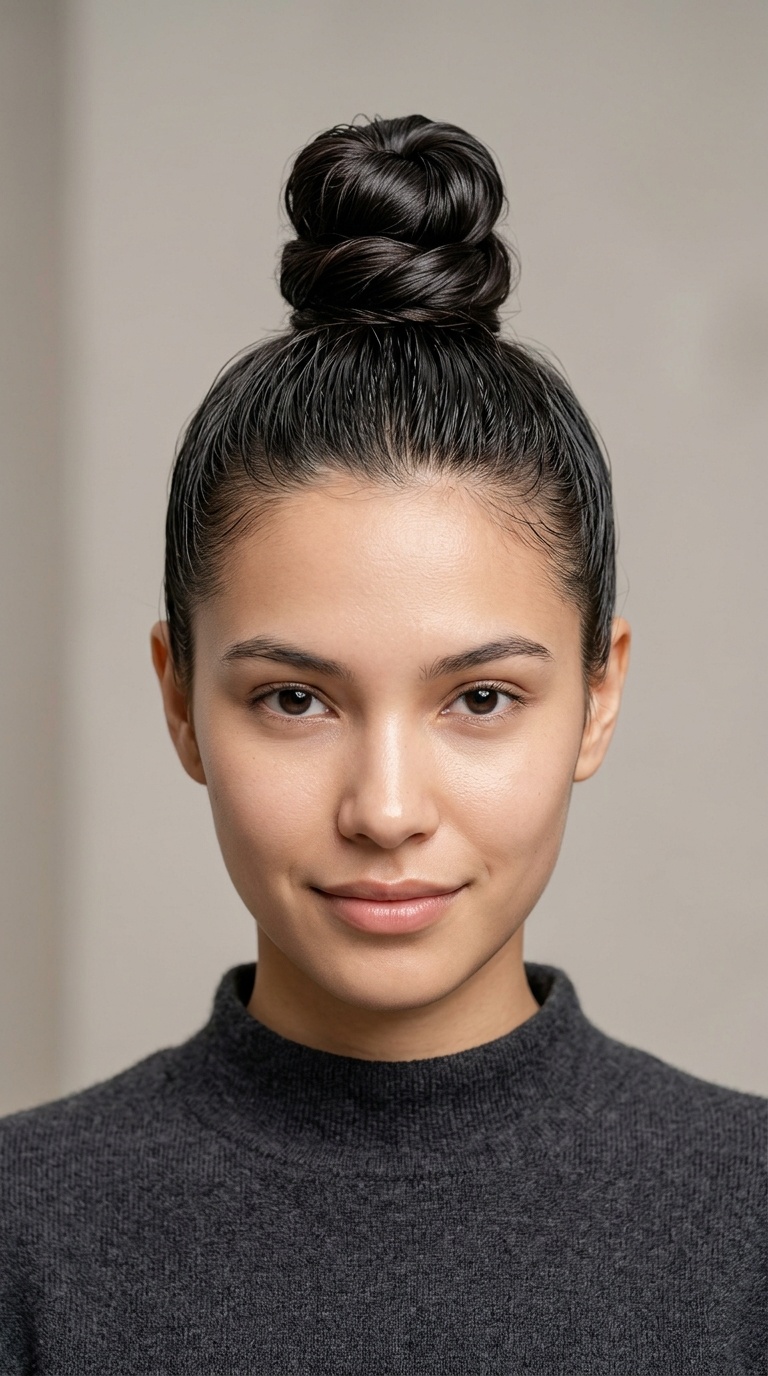
When you are in a rush and need your hair out of your face, the high top knot is a reliable choice. It uses the weight of the water to create a voluminous base.
Flip your head over and gather the hair at the crown. Use a microfiber scrunchie to secure the hair, as this will help absorb excess moisture while you wear it.
Avoid pulling the hair too tight at the hairline to prevent tension breakage. This look is perfect for casual errands or a quick workout session.
4. Twisted Low Ponytail
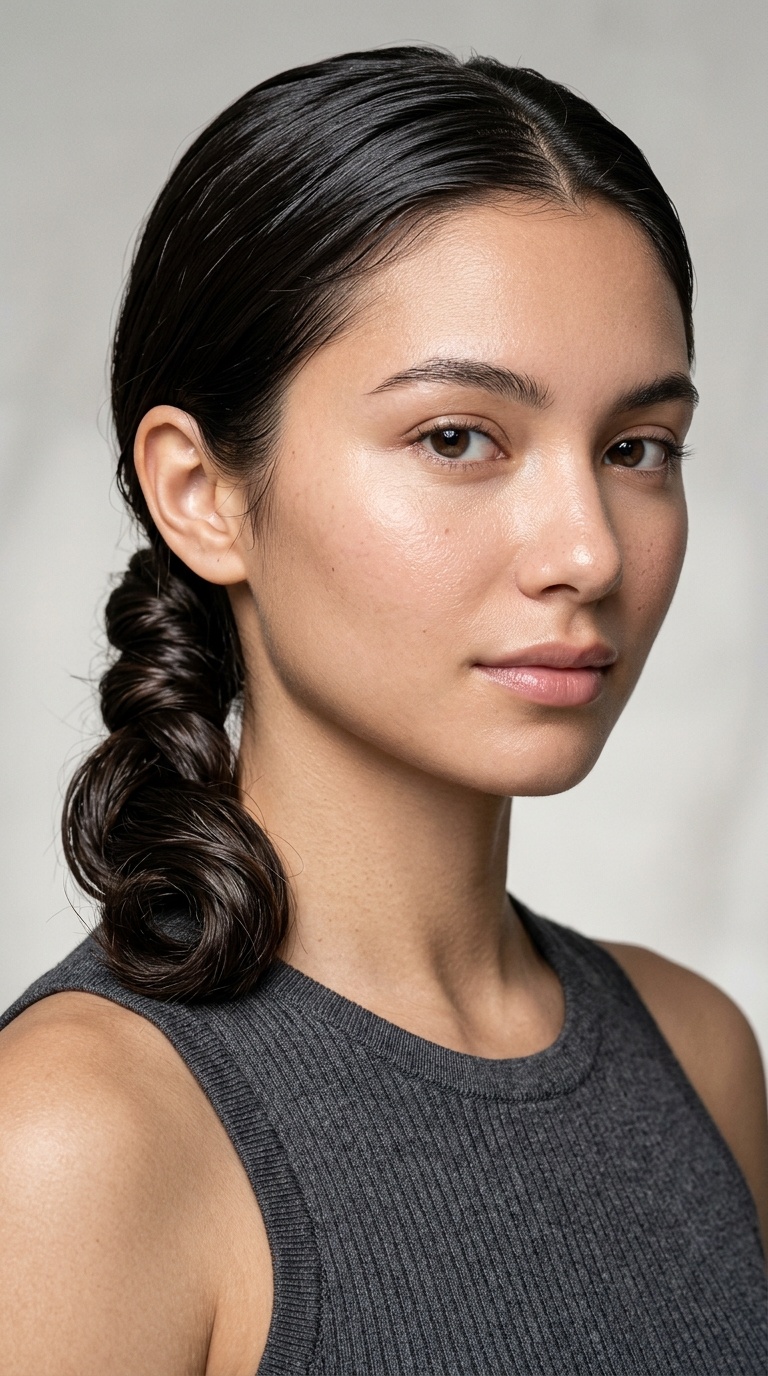
The twisted low ponytail adds a bit of flair to a standard style without requiring extra tools. It works beautifully on damp hair because the moisture holds the twists in place.
Divide your hair into two sections at the nape of your neck. Twist each section inward toward the center before joining them together with a snag-free hair tie.
This method prevents the “ponytail dent” that often occurs with wet hair. It provides a sophisticated silhouette that looks like it took much longer than sixty seconds to achieve.
5. Single French Braid
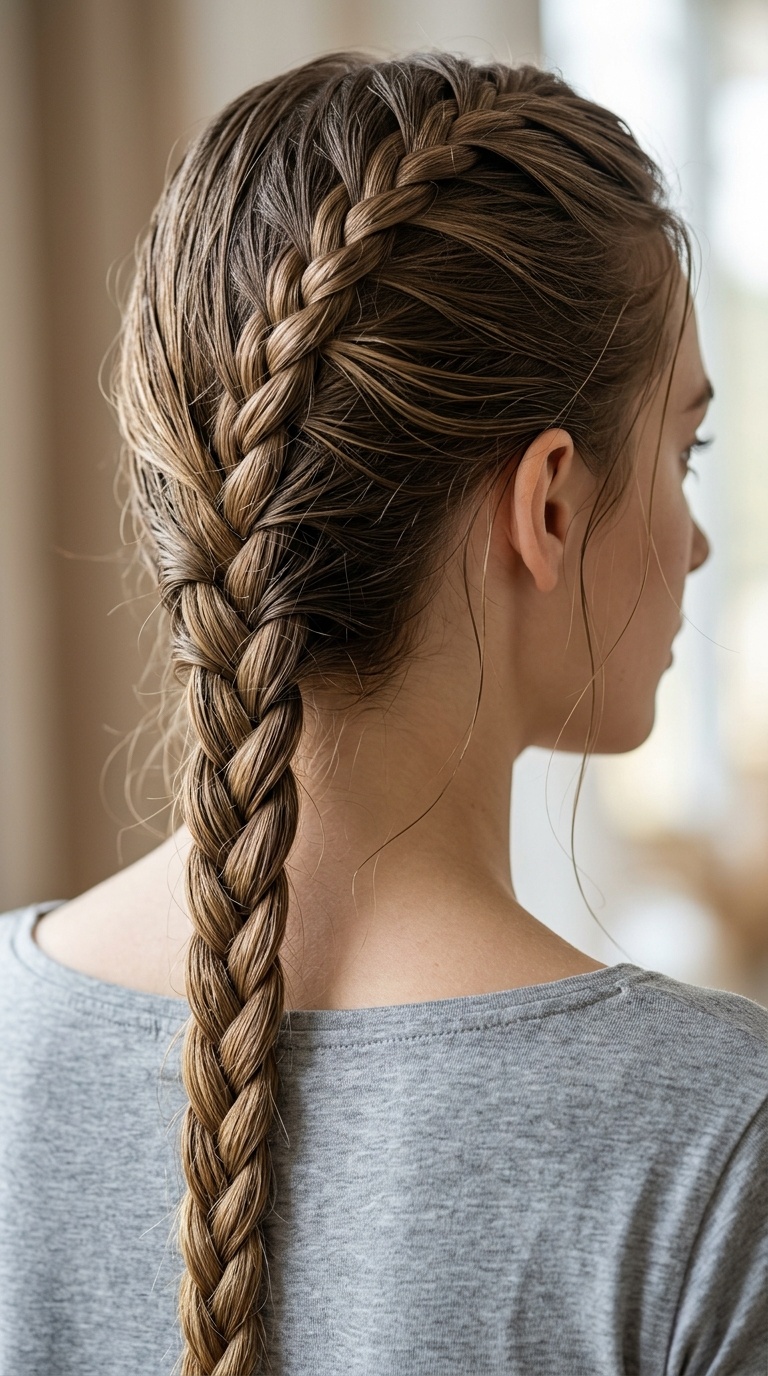
A French braid is excellent for those with layered hair that tends to fall out of simpler styles. It keeps every strand secure from the forehead down to the ends.
Start with three small sections at the top of your head and gradually incorporate more hair as you move down. Keep the tension consistent but never “tight” to avoid pulling.
This style is particularly damage-free because it prevents the hair from whipping around in the wind. It creates a controlled environment for the hair to dry smoothly.
6. Large Claw Clip Twist
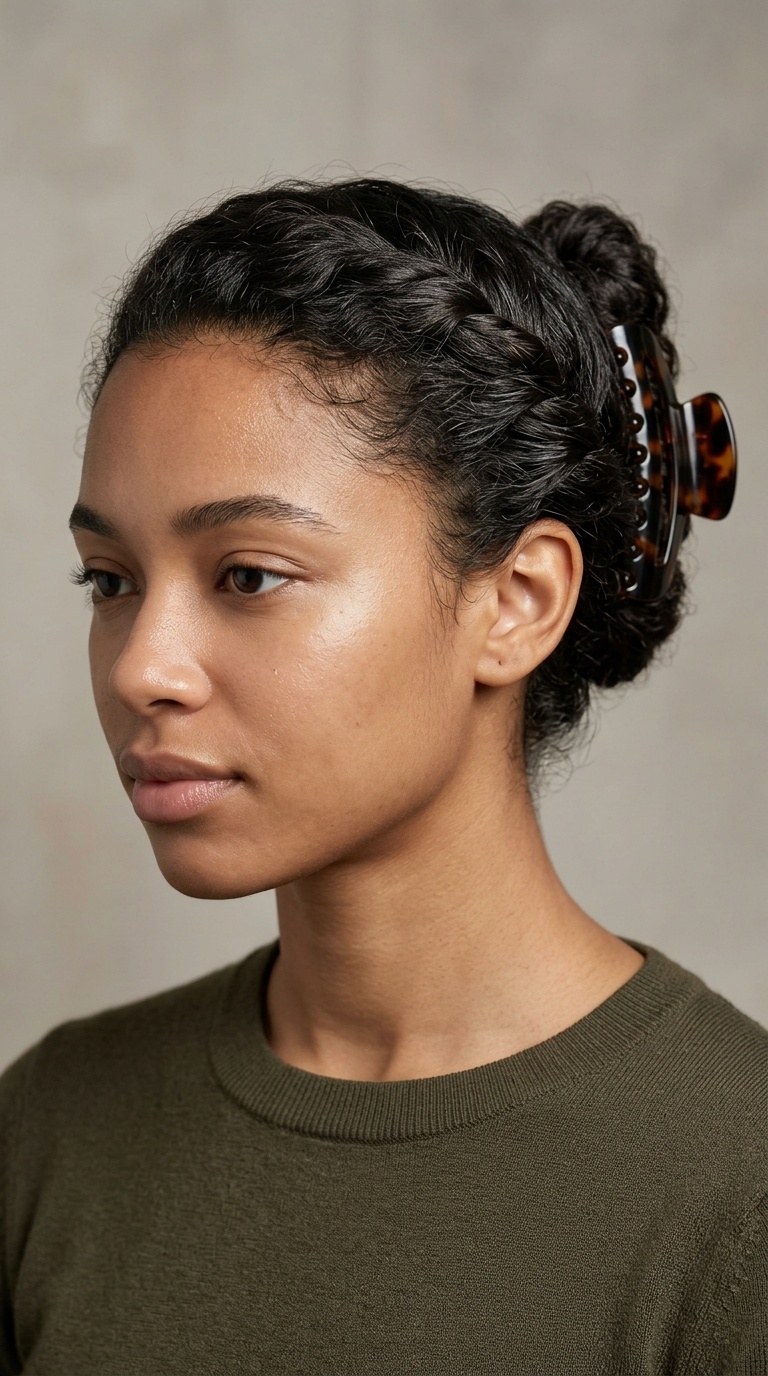
Claw clips are the champions of damage-free styling. They do not use elastic tension, which is the primary cause of breakage in wet hair.
Gather your hair as if making a ponytail, then twist the entire length upward against the back of your head. Secure the middle of the twist with a large, sturdy clip.
Let the ends cascade over the top of the clip for a “fountain” effect. This allows air to circulate through the damp strands, speeding up the drying process significantly.
7. The Bubble Ponytail
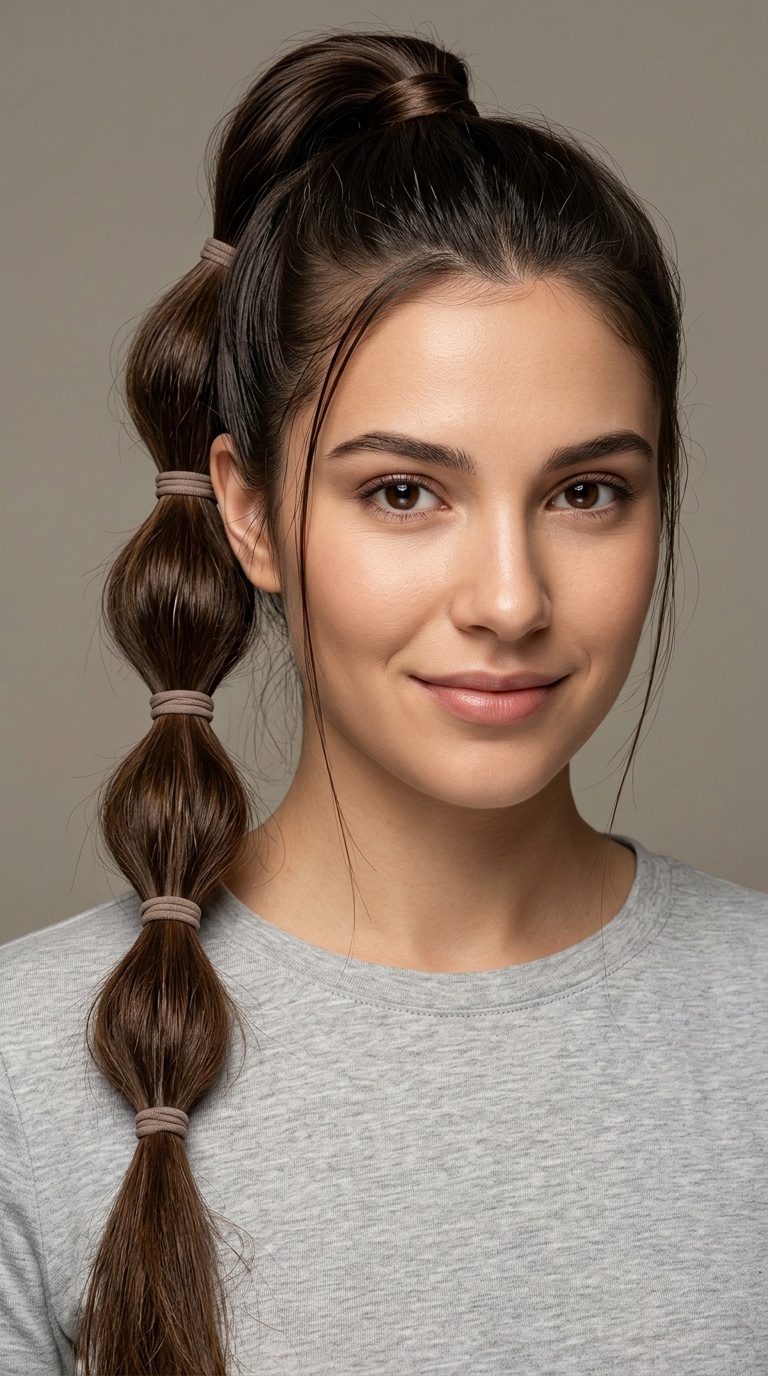
If you want a trendy look that requires zero heat, the bubble ponytail is the answer. It is incredibly stable and won’t fall apart as you move throughout the day.
Secure your hair in a low ponytail first. Every few inches down the length, add another small silk tie and gently tug the hair outward to create a “bubble” shape.
This style is great because it prevents the hair from tangling into a single mass. It also looks very intentional and stylish for such a quick execution.
8. Simple Fishtail Braid
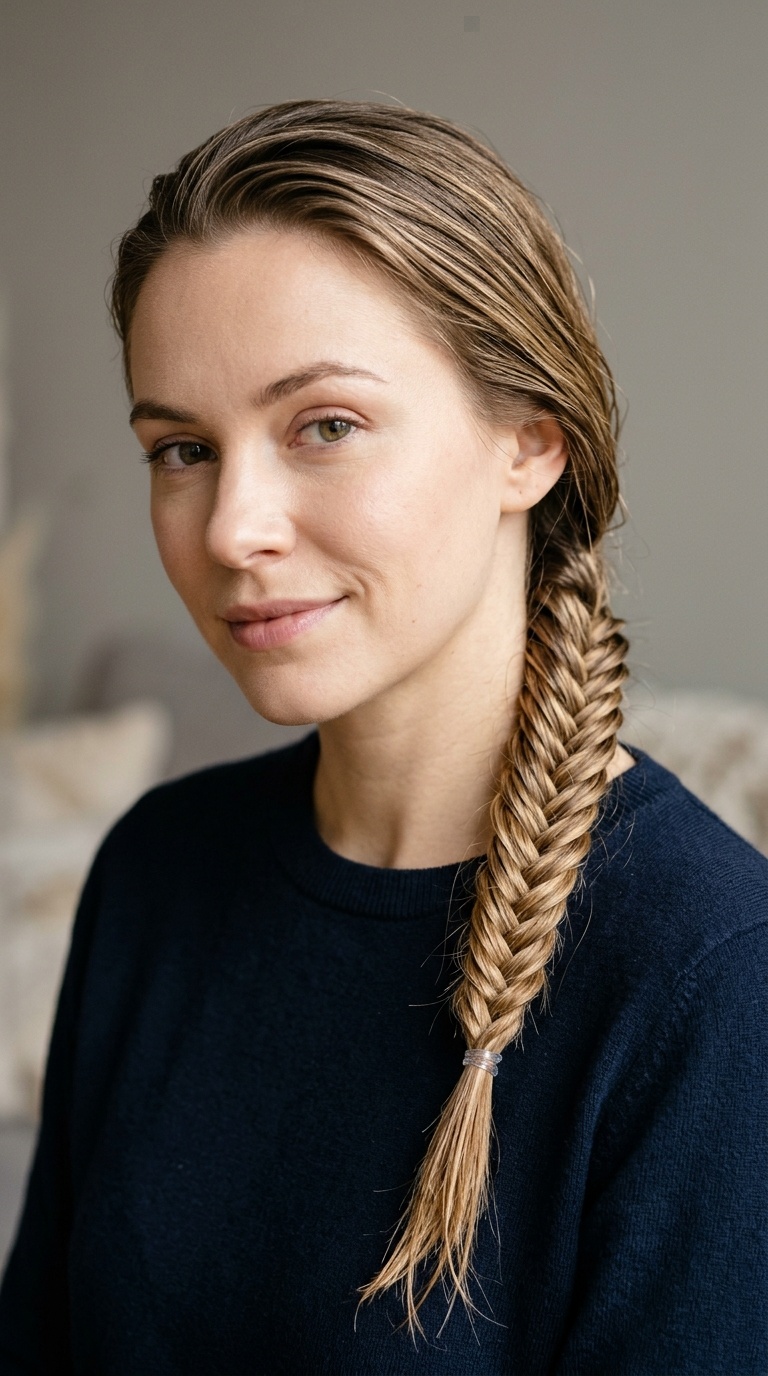
A fishtail braid looks intricate but is actually quite simple to do on damp hair. The moisture provides the “grip” needed to keep the small sections from sliding out.
Split your hair into two main sections. Take a small piece from the outside of the left section and cross it over to the right, then repeat on the other side.
Because you are using smaller sections, the hair has more surface area exposed to the air. This helps the interior of the braid dry more thoroughly than a standard braid.
9. Double Dutch Braids
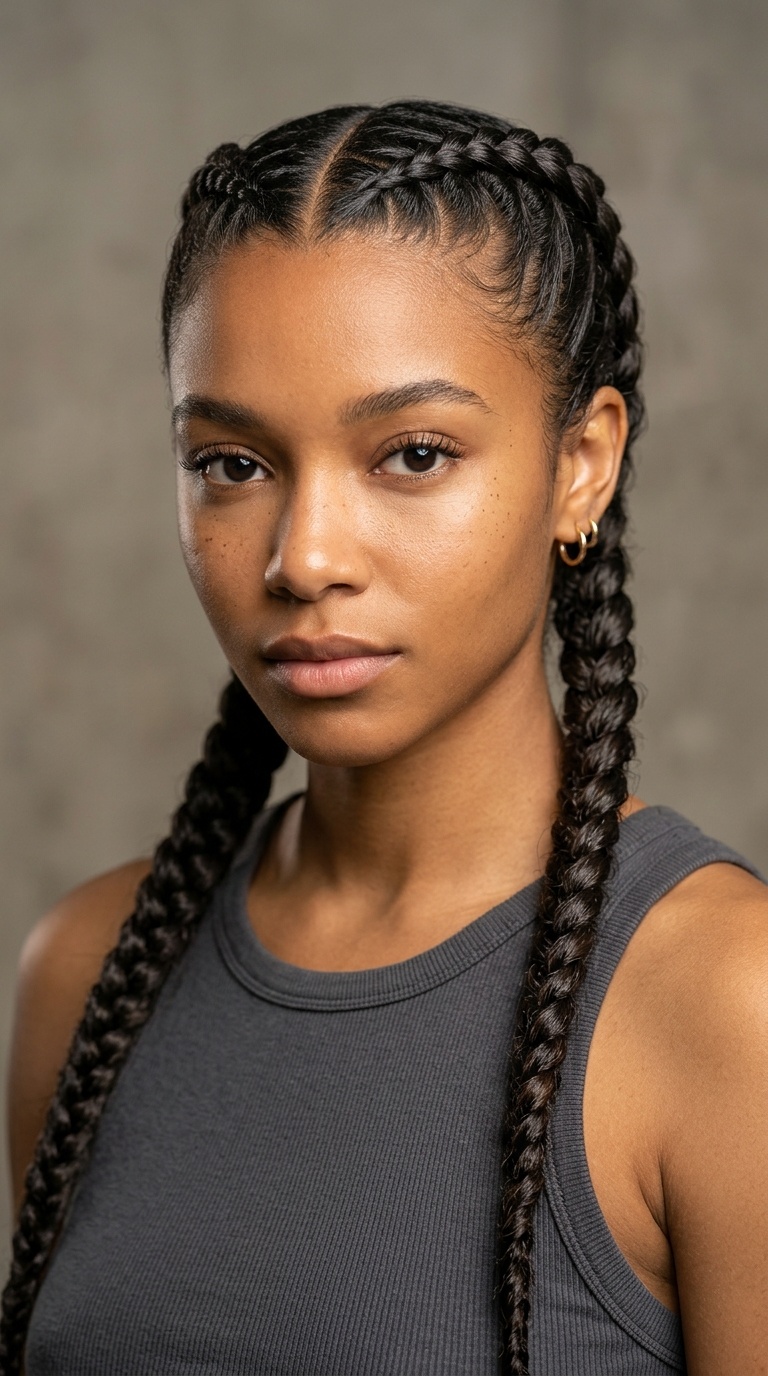
Dutch braids, or “inside-out” French braids, are perfect for high-activity days. They sit flat against the head and are extremely secure, making them ideal for long shifts or commutes.
By crossing sections under rather than over, the braid sits on top of the hair. This provides a sporty look that keeps damp hair completely contained and protected.
This is a fantastic “set it and forget it” style. When you take them out later, you will have incredible volume and crimped waves without any heat damage.
10. Side-Swept Braid
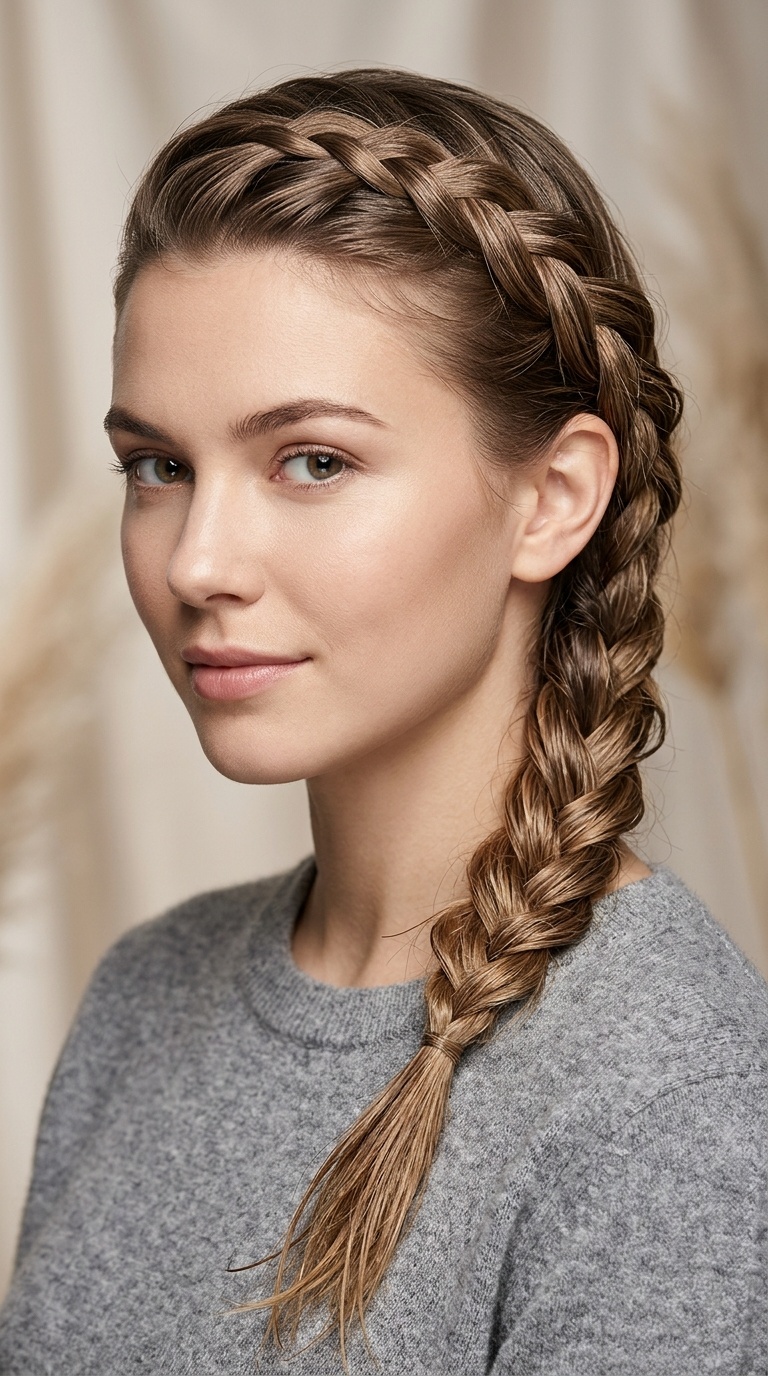
The side-swept braid is a romantic, soft look that takes the pressure off the back of your neck. It is particularly comfortable if you are wearing a hat or a hood.
Pull all your damp hair over one shoulder and begin a loose three-strand braid. Secure the end with a ribbon or a soft tie to add a decorative touch.
This style minimizes the tension on the hair at the nape of the neck. It is a gentle way to keep hair organized while you are on the move.
11. Half-Up Top Knot
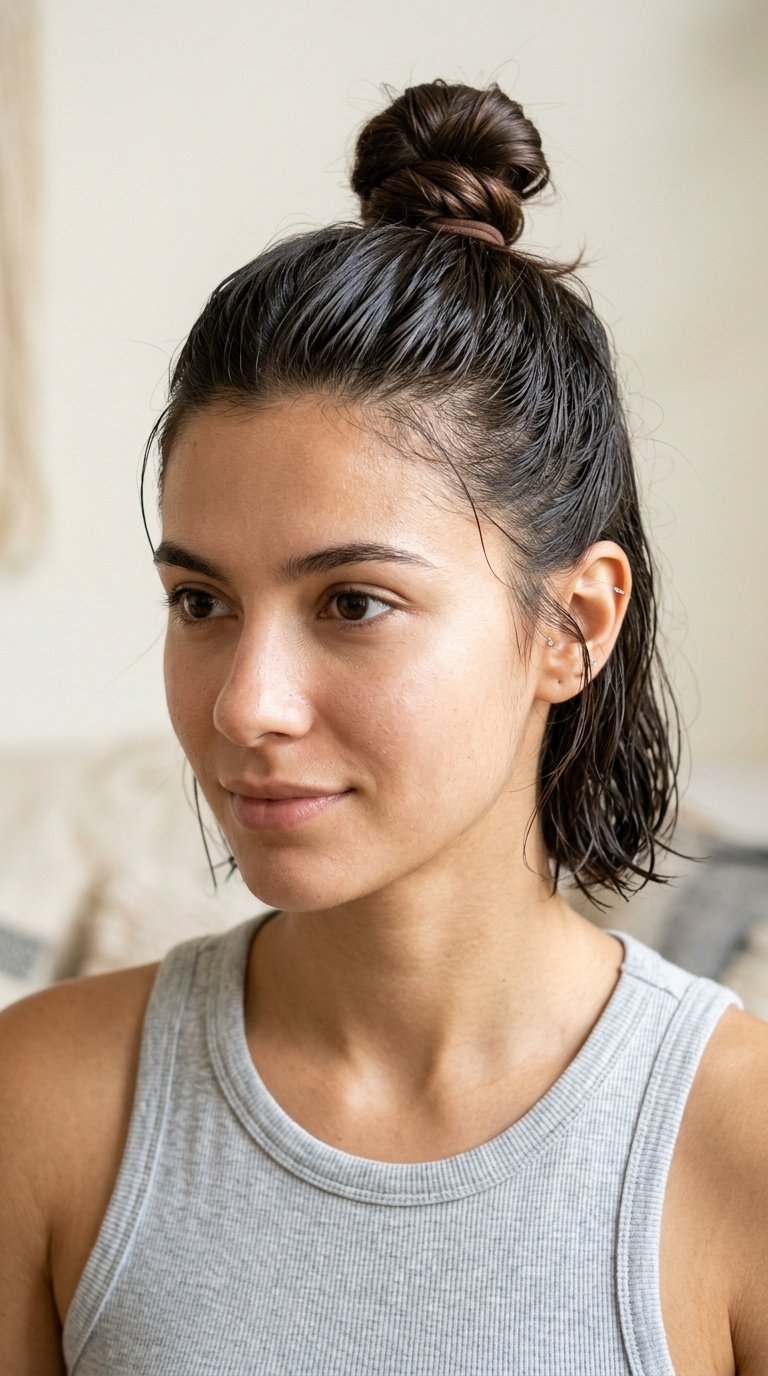
When you want to show off your length but keep hair out of your eyes, the half-up top knot is the perfect compromise. It works well with all hair textures.
Section off the top third of your hair and twist it into a small bun at the crown. Secure it with a small claw clip or a silk scrunchie.
The remaining damp hair hangs freely, allowing it to air-dry faster. This style provides a modern, effortless vibe that transitions well from morning to afternoon.
12. Low Space Buns
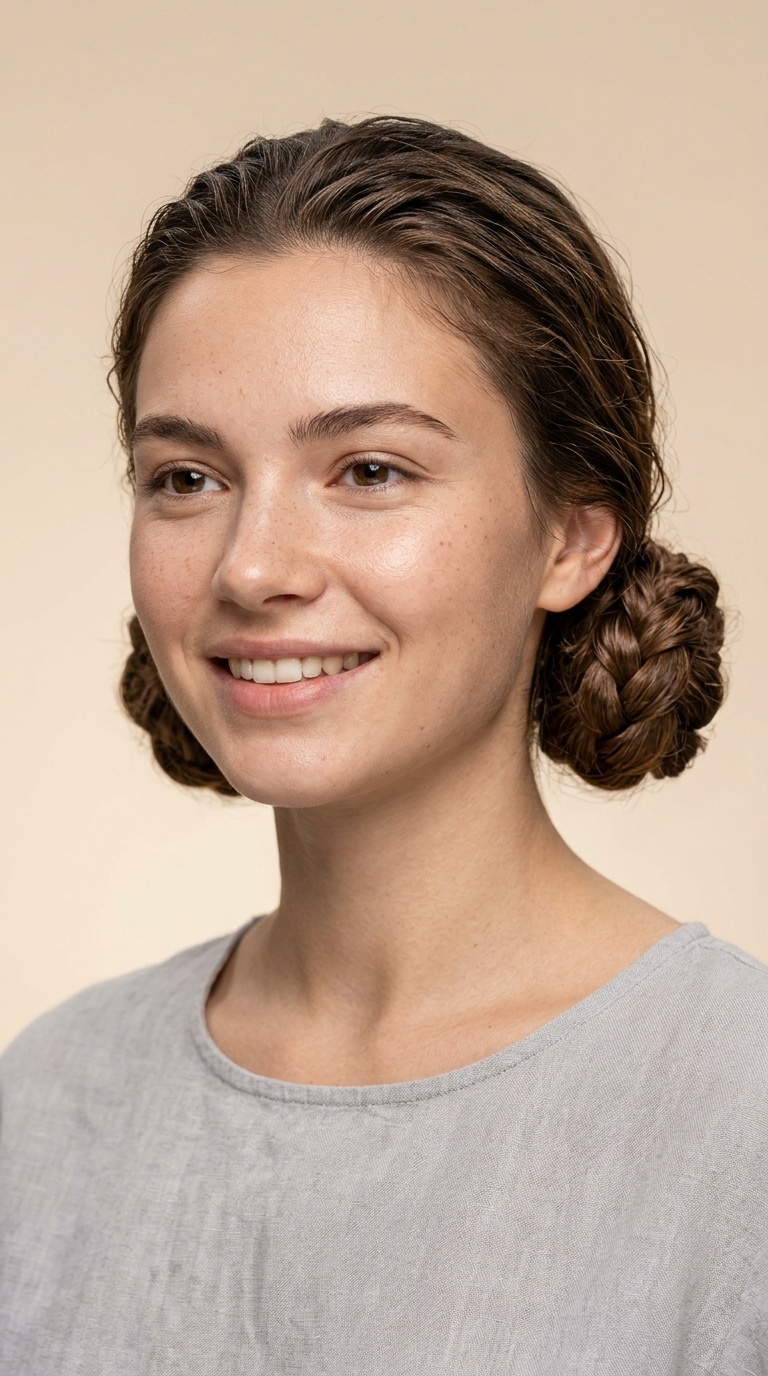
Space buns aren’t just for festivals; they are a practical way to distribute the weight of wet hair. Placing them low at the nape keeps the look subtle.
Part your hair down the middle and create two low ponytails. Twist each one into a small “cinnamon roll” shape and secure with soft hair ties.
This is a damage-free alternative to one large bun, which can sometimes be too heavy when wet. It balances the weight and prevents scalp strain.
13. The Rope Twist Bun
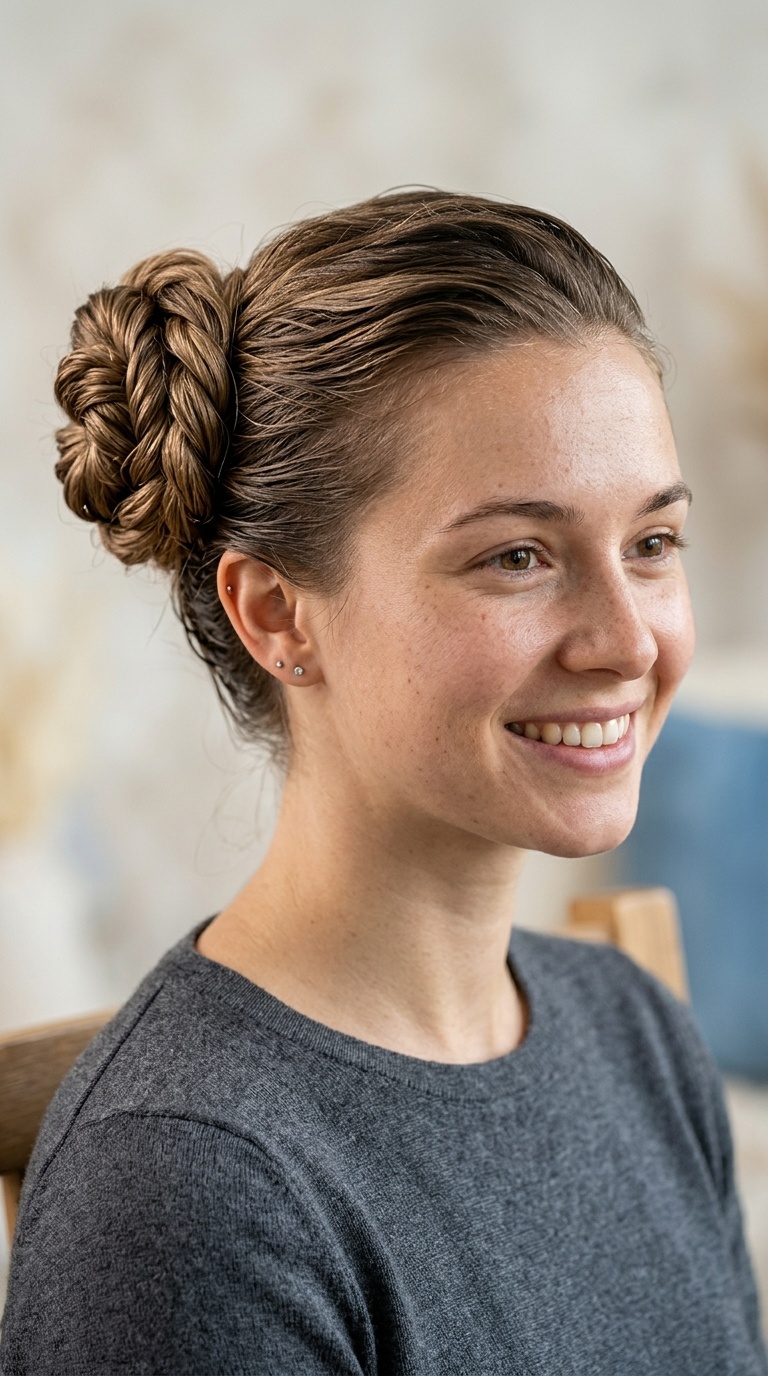
The rope twist is a two-strand technique that is much faster than braiding. It creates a beautiful, rope-like texture that looks very sophisticated when coiled into a bun.
Divide your ponytail into two sections and twist them both in the same direction. Then, wrap them around each other in the opposite direction before pinning into a bun.
This counter-rotation creates a tension that stays in place without needing dozens of pins. It is a sturdy, damage-free style for very thick hair.
14. Tucked-Under Crown Braid
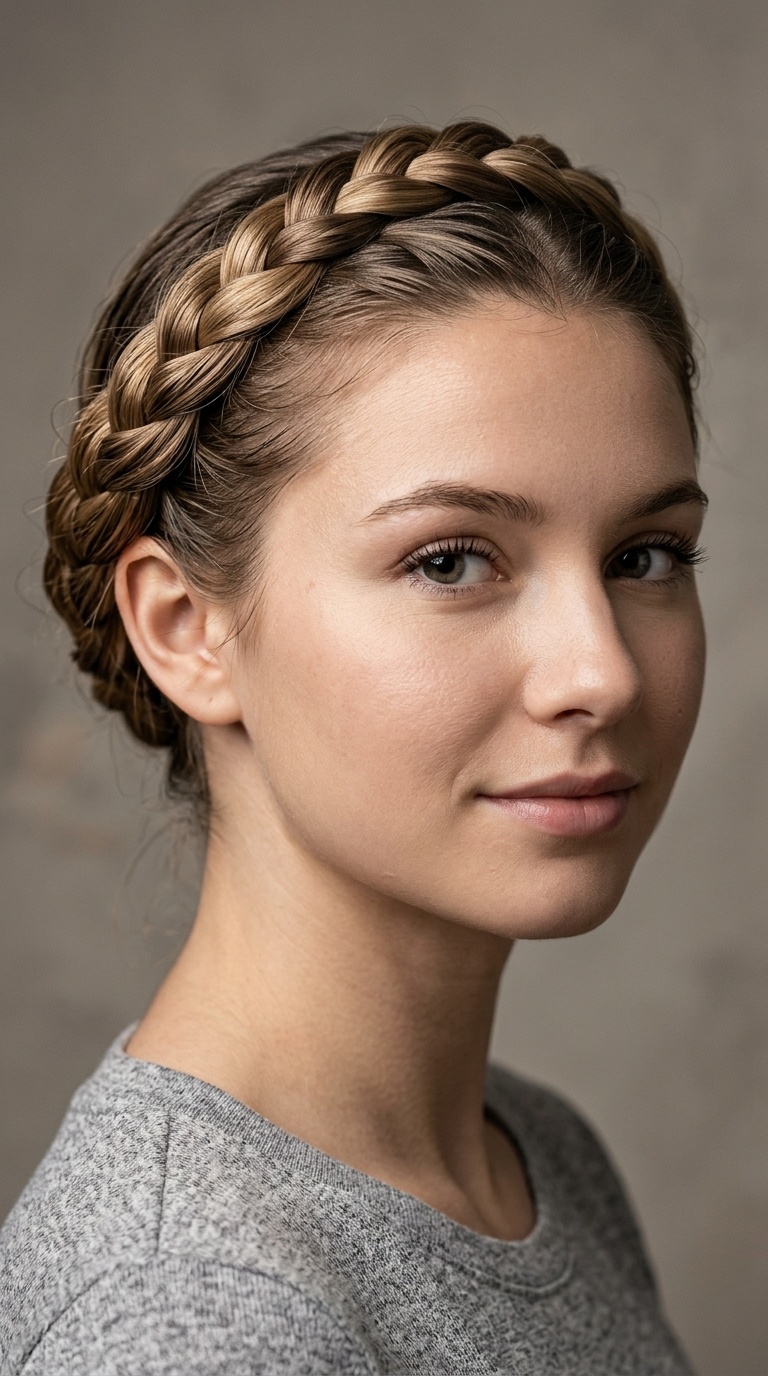
This style creates a polished “halo” effect that hides wet ends completely. It is an excellent choice for rainy days when you want to protect your hair from humidity.
Braid two sections of hair starting from behind the ears and bring them across the back of the head. Tuck the ends under the opposite braid and secure with a clip.
Because the ends are tucked away, they are shielded from environmental stressors. It creates a very neat, “updo” appearance that belies how quickly it was assembled.
15. The Twisted Side Ponytail
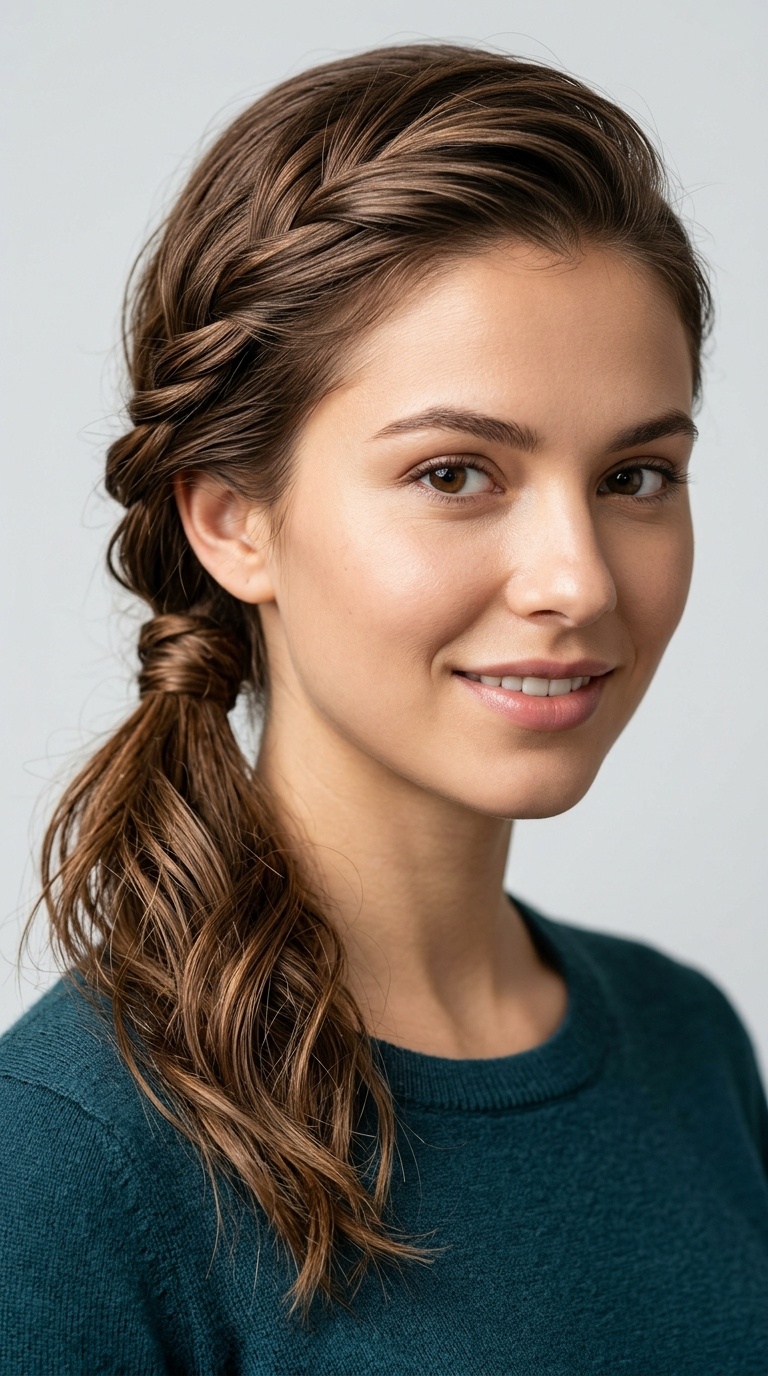
Elevate a standard side ponytail by adding a simple twist detail. This prevents the hair from looking too flat against the head while it is damp.
Take a small section of hair near your temple and twist it back toward your ear, incorporating more hair as you go. Join it with the rest of your hair.
Secure everything with a soft elastic behind the ear. This style is gentle on the hairline and provides a lovely, asymmetrical silhouette for any occasion.
16. Loose Messy Chignon
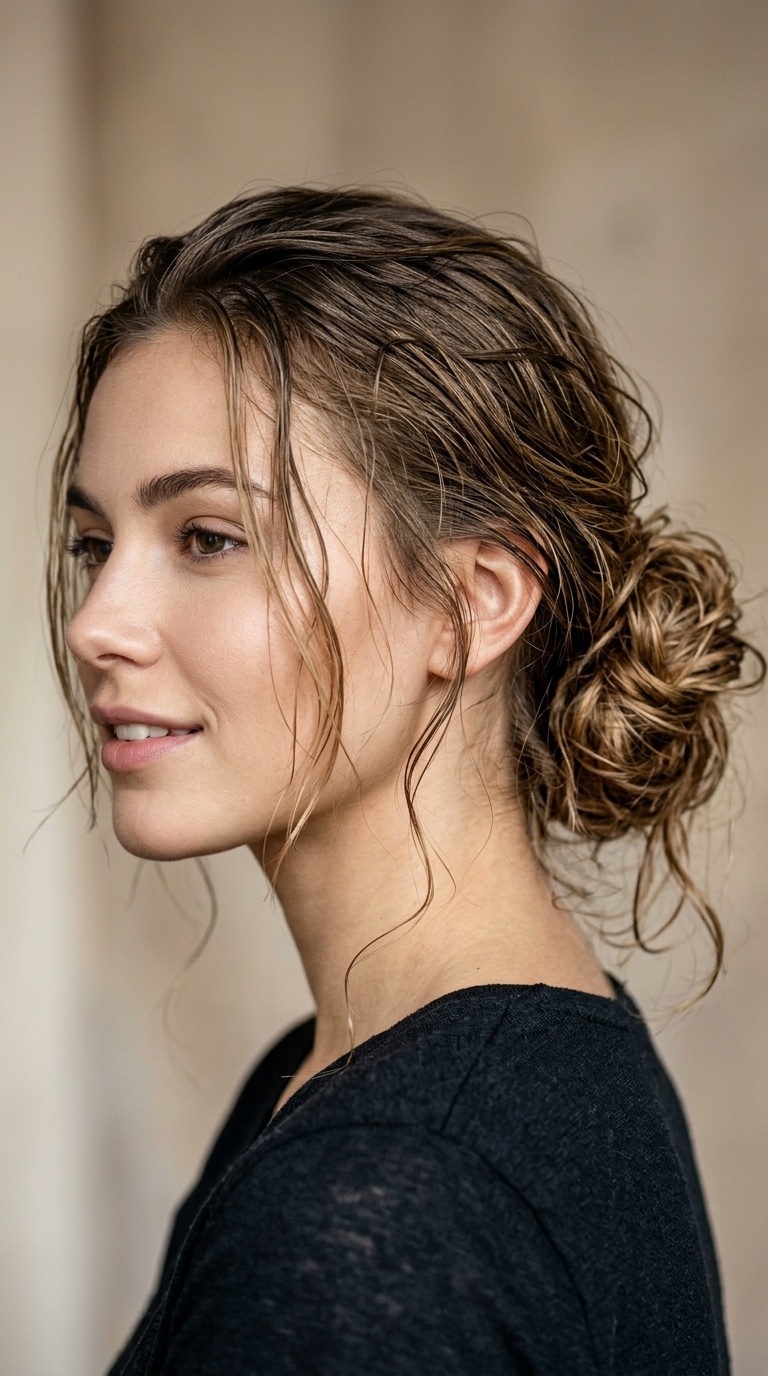
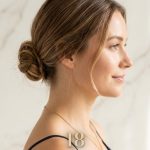
The chignon is a timeless classic that actually benefits from the “grip” of damp hair. It looks intentionally undone and effortless, perfect for a busy morning.
Gather your hair into a low, loose ponytail and pull it only halfway through the elastic on the last loop. Tuck the remaining ends around the base.
Secure any loose pieces with a U-shaped pin rather than a standard bobby pin. U-pins offer a secure hold with much less pressure on the hair shaft.
17. Wrapped High Ponytail
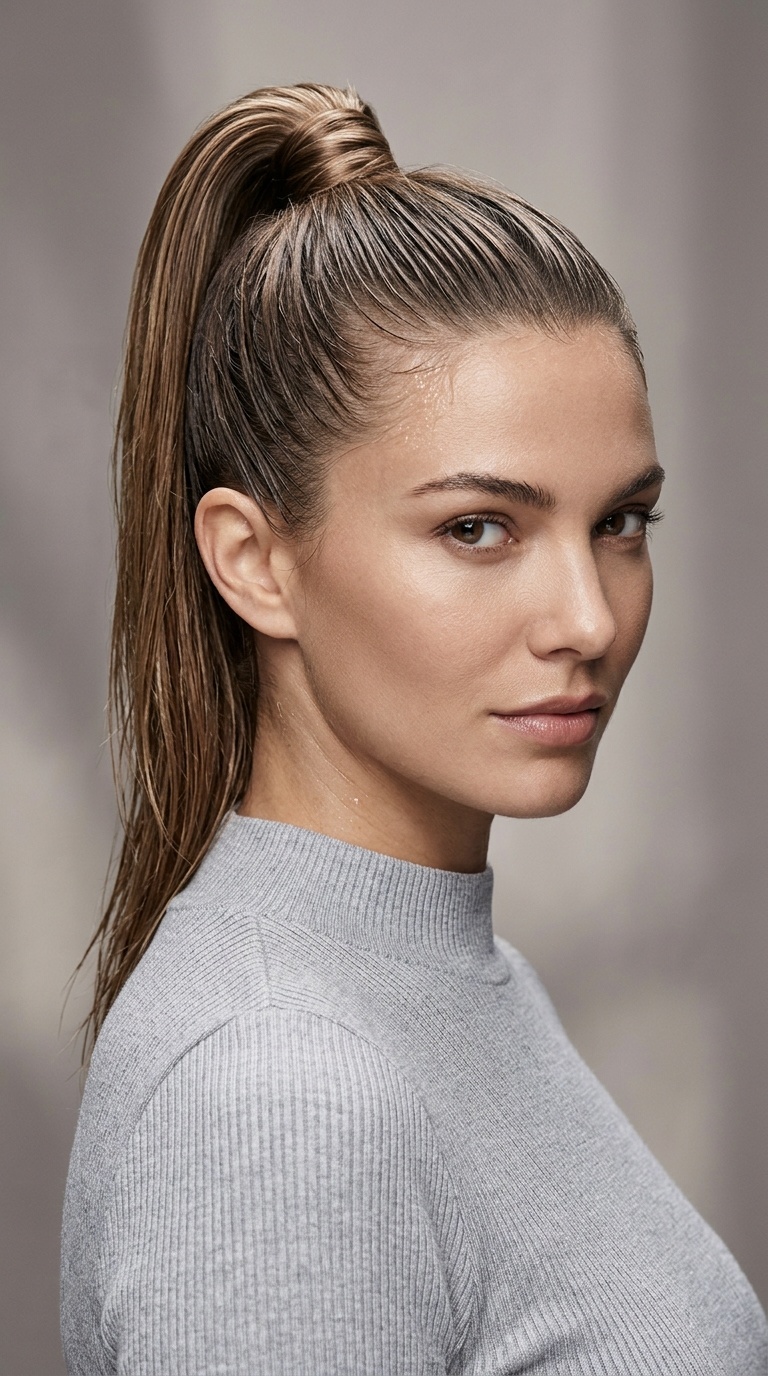
If you prefer a high ponytail, the “wrapped” technique makes it look salon-finished. It also hides the hair tie, which can sometimes look messy on wet hair.
Secure your hair at the desired height with a sturdy scrunchie. Take a small lock of hair from the underside and wrap it around the base to hide the tie.
Secure the end of that lock with a small clip or tuck it into the elastic. This small step adds instant polish to a very basic, fast hairstyle.
18. Reverse French Braid (Upside Down)
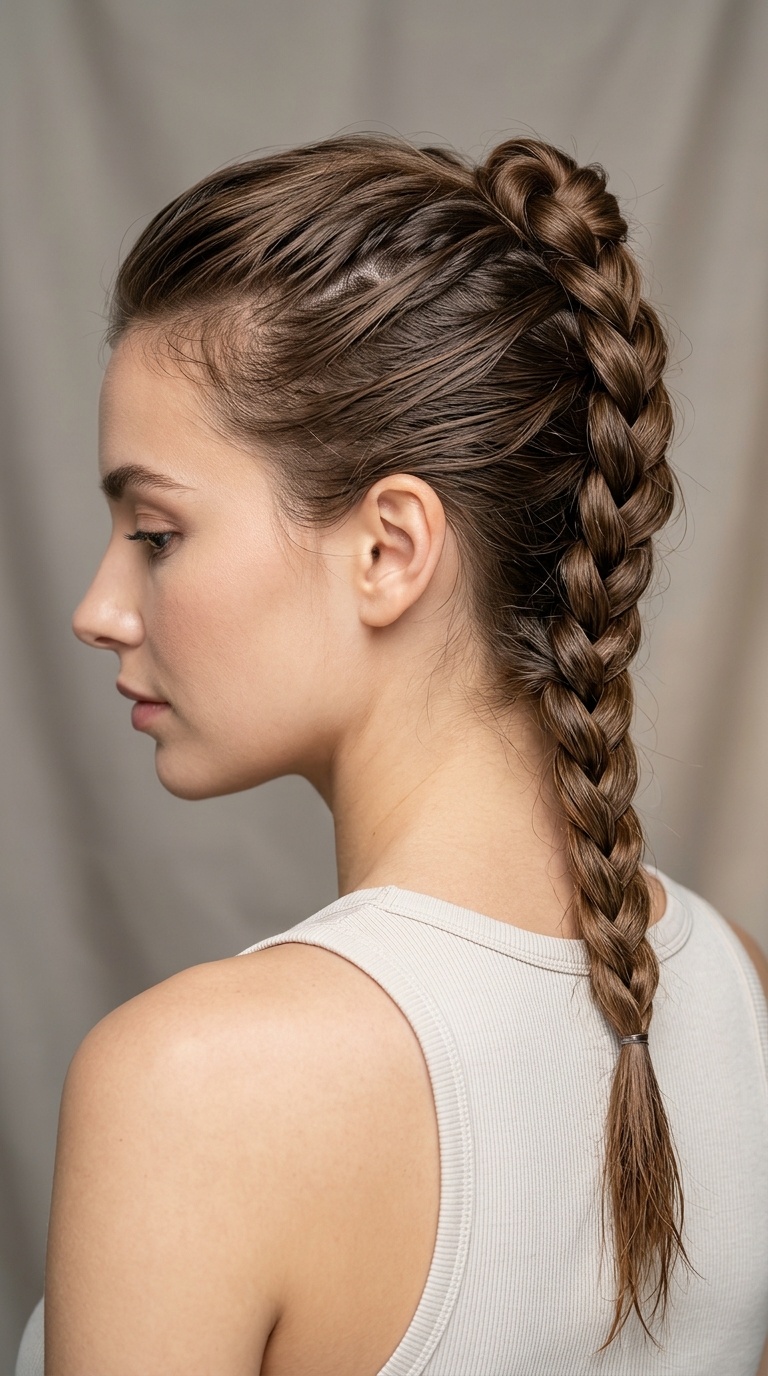
For those who want a unique look, the reverse French braid starts at the nape of the neck and moves upward. It is surprisingly easy to do while bent over.
Flip your hair forward and braid from the neck toward the crown. Once you reach the top, incorporate the rest of the hair into a bun or ponytail.
This style keeps the hair off the neck, which is helpful if you are wearing a high-collared coat. It also creates great volume at the roots once dry.
19. Scarf-Wrapped Bun
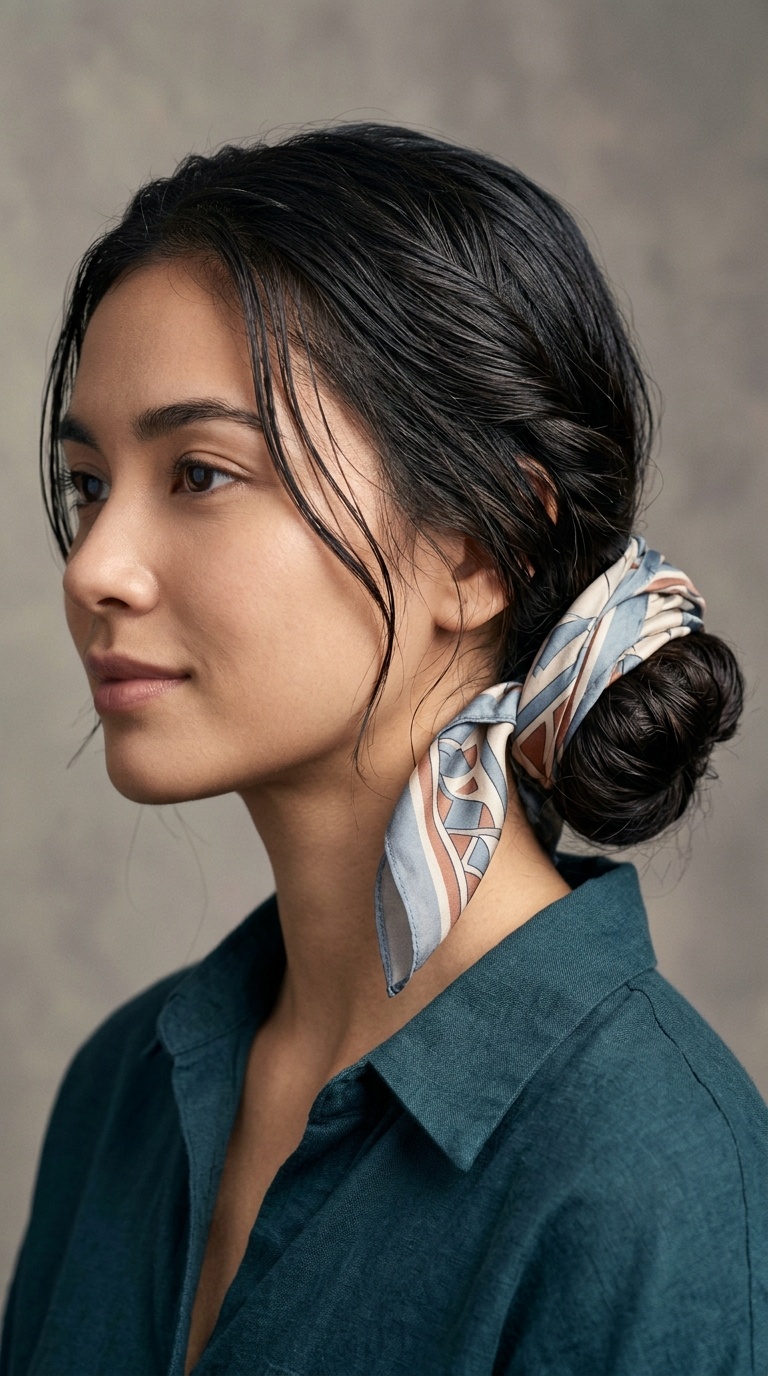
A silk scarf is a secret weapon for wet hair. It adds a pop of color and covers any frizz that might occur as the hair begins to air-dry.
Create a simple bun and then wrap a square silk scarf around the base. Tie it in a knot or a bow, leaving the ends to hang down.
The silk helps to keep the hair cuticle flat and prevents moisture from escaping too quickly. It is one of the most protective styles you can choose.
20. Triple Twisted Low Bun
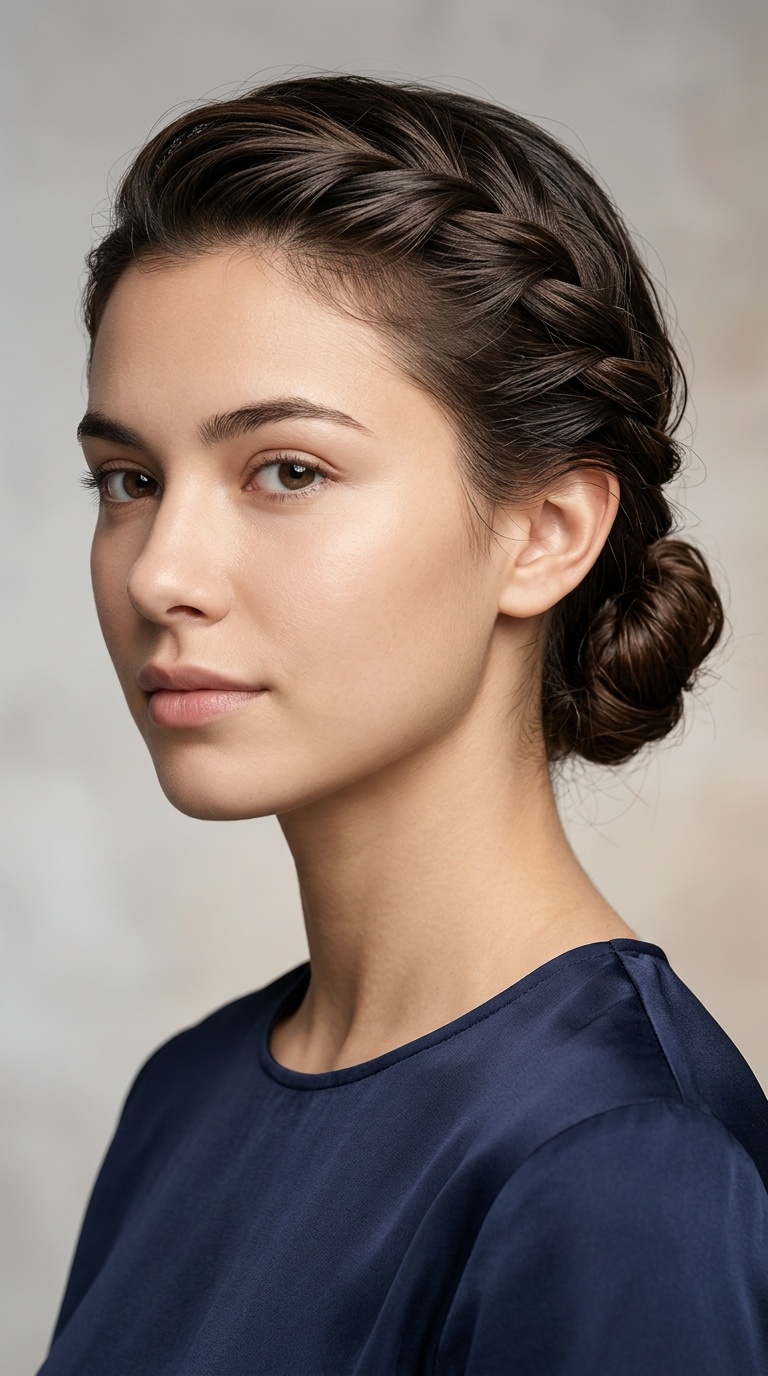
If you have very thick hair, one bun might feel heavy or take forever to dry. Dividing the hair into three smaller twists solves both problems.
Divide your hair into three vertical sections at the back. Twist each one into a small coil and secure them side-by-side along the nape of your neck.
This creates a beautiful, textured look that resembles a professional “updo.” It allows for better airflow between the buns, speeding up your drying time.
21. The Pineapple Updo
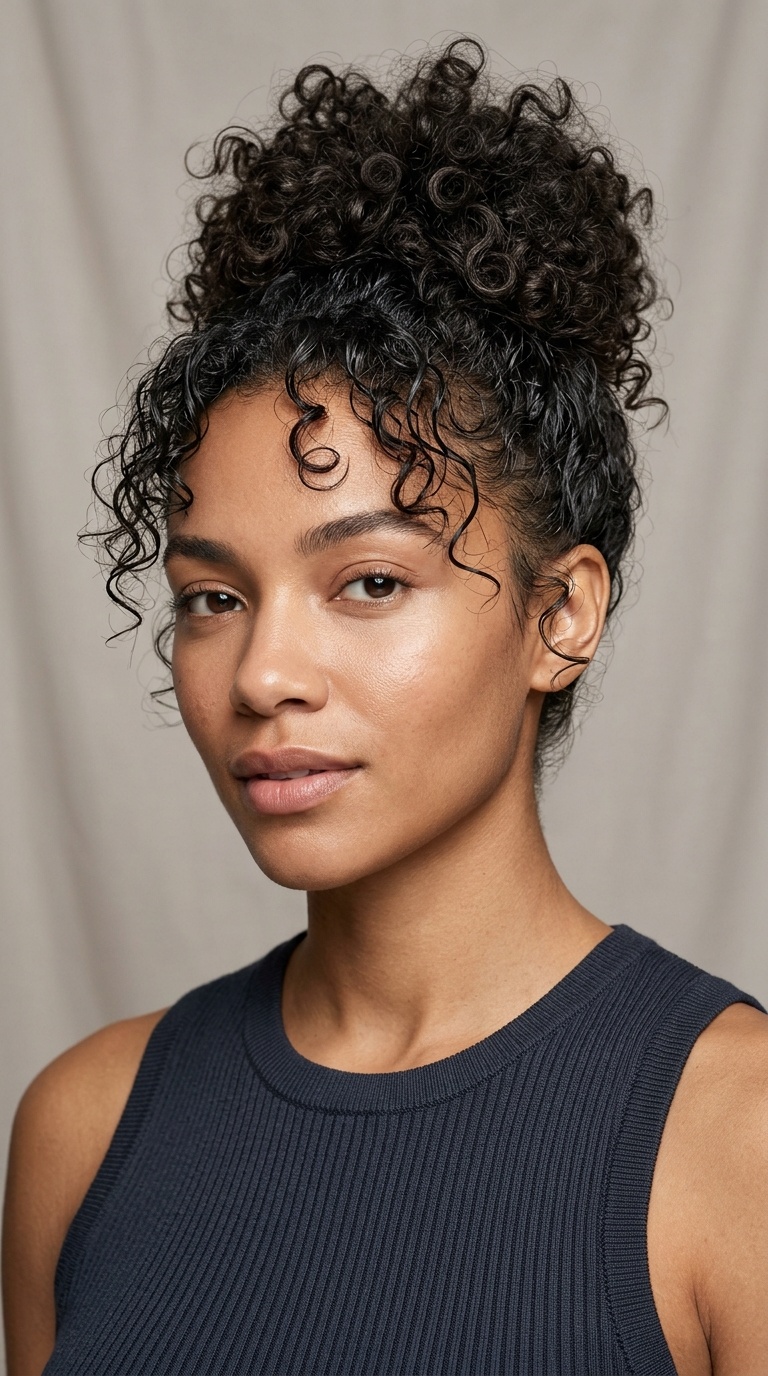
Primarily used for those with natural curls or waves, the “pineapple” is a high, loose ponytail that sits right at the front of the crown.
Using a large silk scrunchie, gather the hair loosely so the curls or waves “fountain” forward. This prevents the weight of the water from flattening your natural texture.
This style is excellent for maintaining volume. It keeps your damp hair from rubbing against your back, which can cause frizz and tangles.
22. Criss-Cross Low Pony
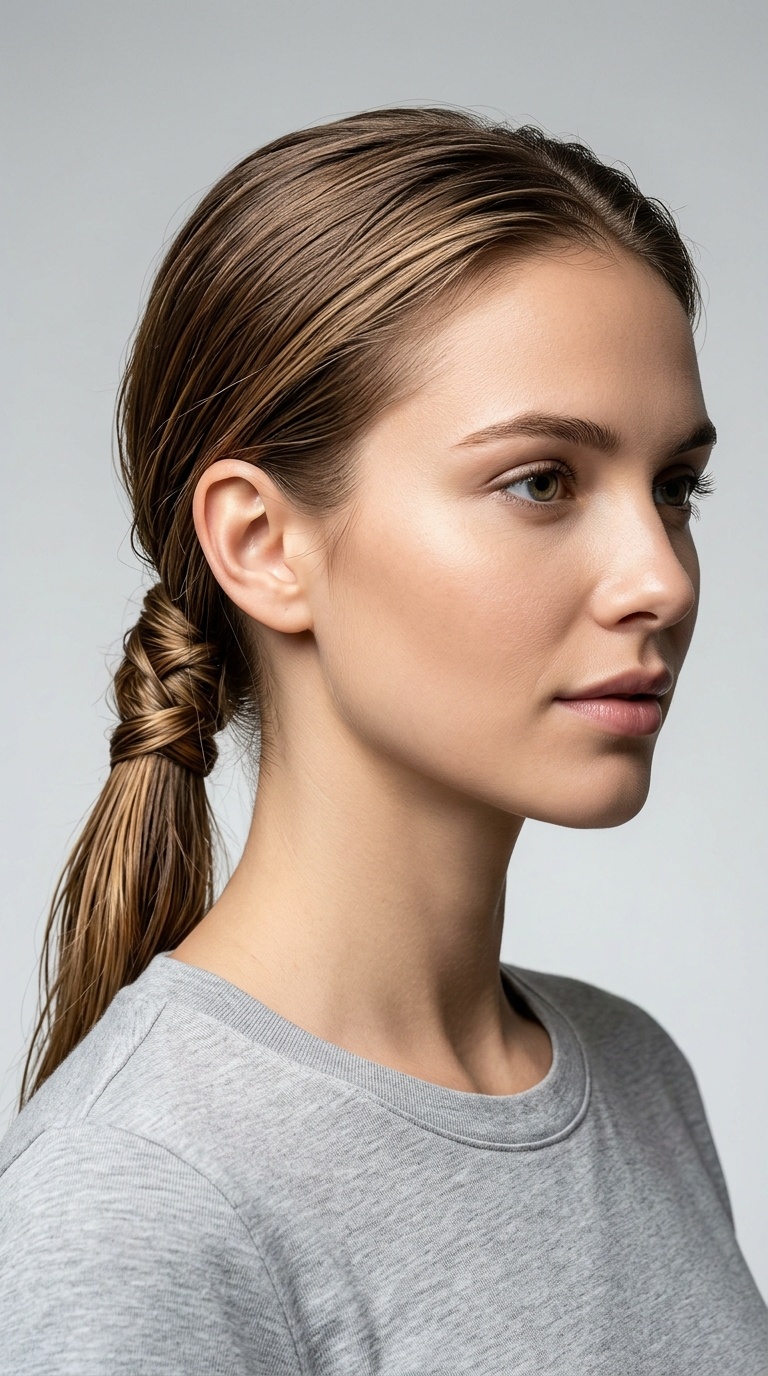
This style looks like an intricate weave but only takes seconds. It provides a flat, secure hold that is very comfortable for all-day wear.
Leave two small sections of hair out at the front. Secure the rest in a low ponytail. Cross the front sections over the ponytail base and pin underneath.
The criss-cross pattern holds the damp hair flat against the head. This prevents the “poofing” that often happens at the crown as wet hair dries.
23. The Folded Loop Bun
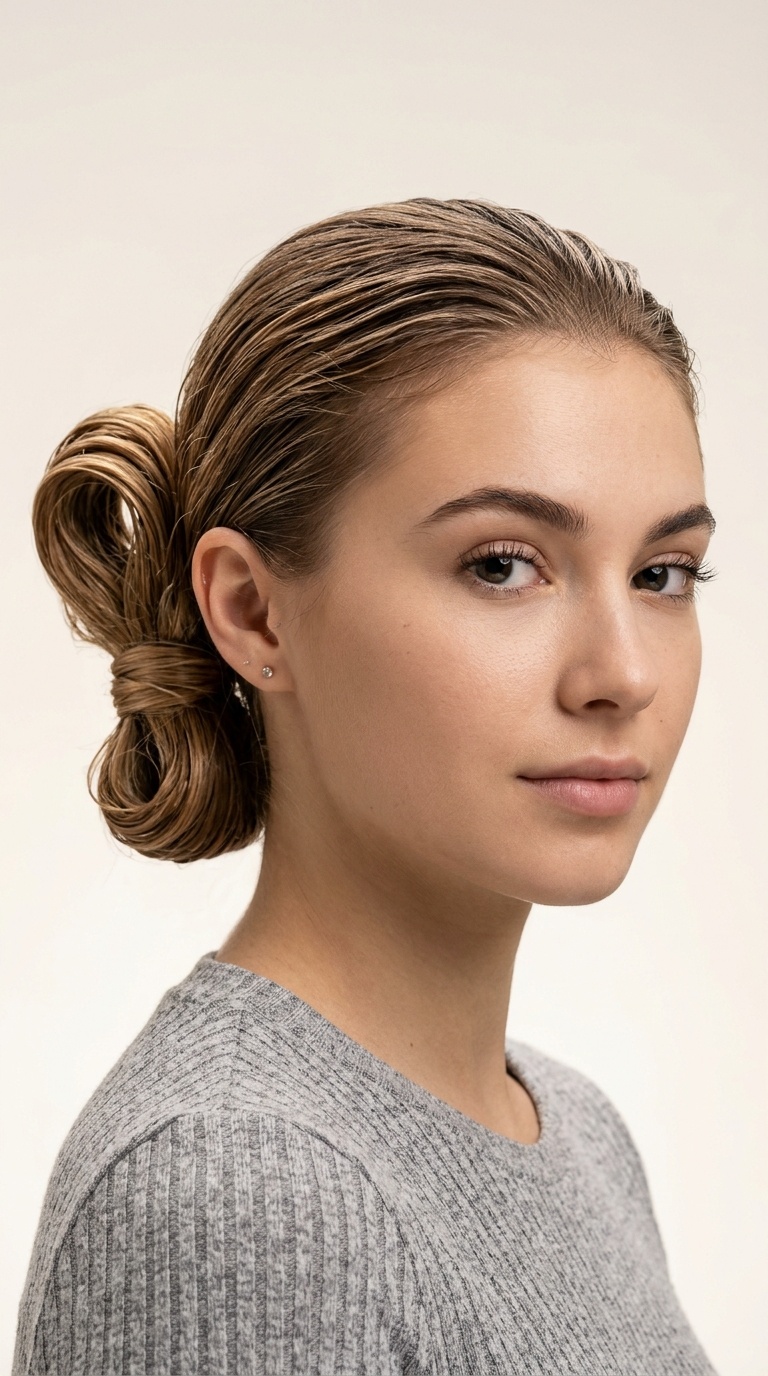
The folded loop is the quickest “office-ready” style on this list. It is more structured than a messy bun but just as fast to create.
Pull your hair into a ponytail but don’t pull it all the way through the elastic. Leave it in a large loop and wrap the ends around the elastic.
This style keeps the ends of your hair protected inside the loop. It creates a sleek, teardrop shape that looks very modern and clean.
24. Elegant Halo Braid
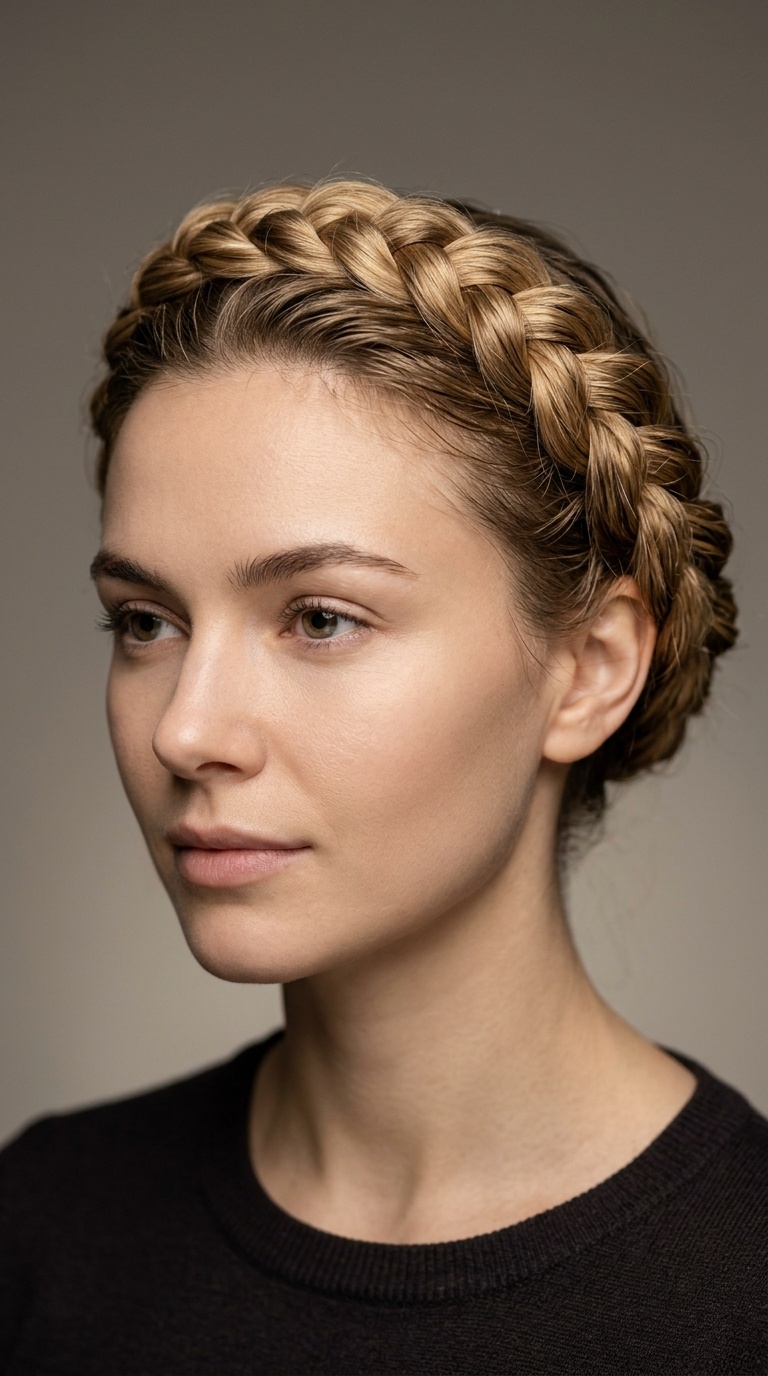
A halo braid is essentially two braids wrapped around the top of the head. It is a stunning way to manage long, wet hair without using any heat.
Part your hair down the middle and create two pigtail braids. Lift them up and over the top of your head, pinning them in place to create a “crown.”
This style is incredibly secure and won’t budge even if you are running for a bus. It also protects the entirety of your hair length from the elements.
25. Tucked-In French Twist
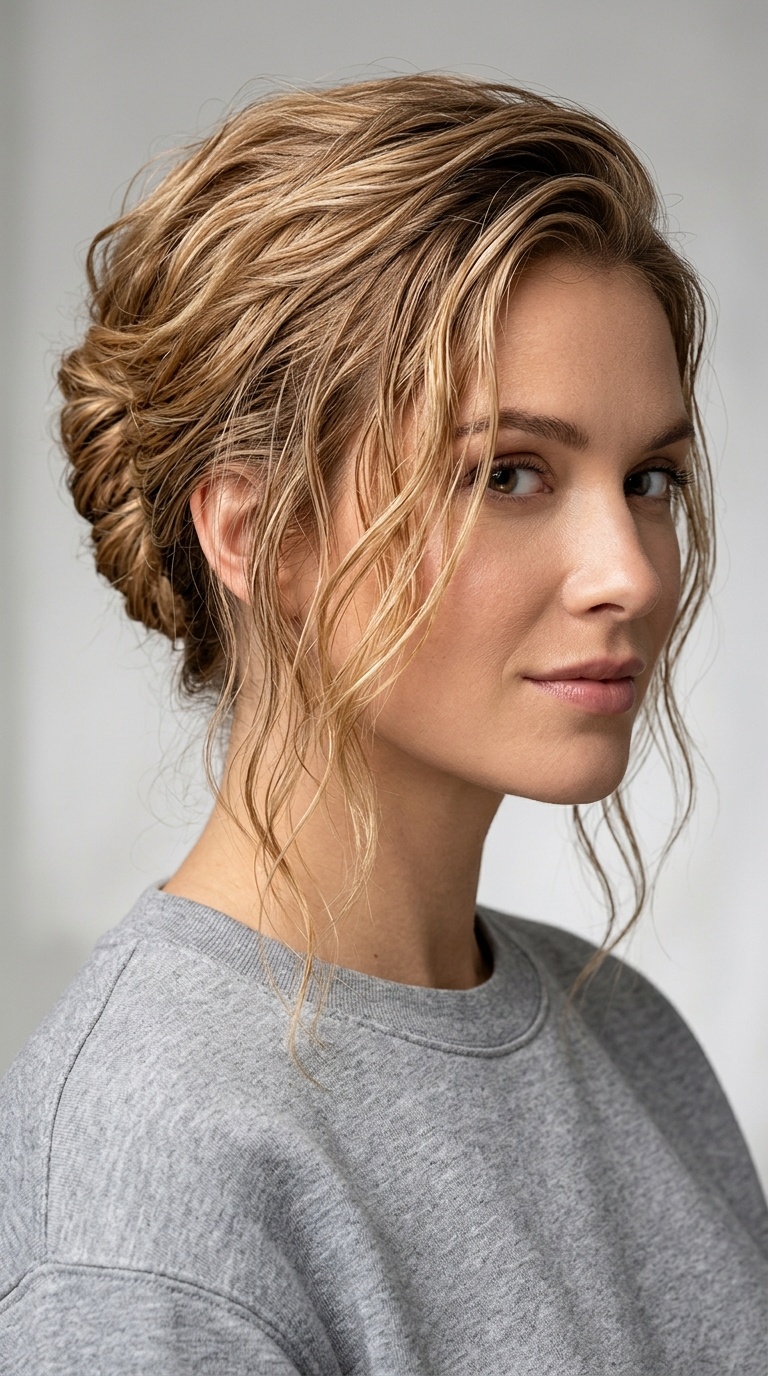
The French twist is usually seen as a formal style, but a “lazy” version works perfectly for wet hair. It provides a vertical silhouette that is very flattering.
Gather your hair at the nape, twist it tightly upward, and tuck the length into the “pocket” created by the twist. Secure it with a few large pins or a clip.
Since the hair is damp, it will stay in the twist much better than dry, slippery hair. It’s a sophisticated way to hide the fact that you didn’t have time to dry your hair.
Is it safe to tie hair back while it is still wet?
Yes, it is safe as long as you avoid high tension. Wet hair is more elastic and prone to snapping, so use soft scrunchies or claw clips rather than thin rubber bands. Always ensure the style is loose enough that it doesn’t pull on your scalp or hairline.
What are the best hair accessories for damage-free styling?
Silk or satin scrunchies are the gold standard because they glide over the hair without catching. Microfiber hair ties are also excellent for wet hair because they help absorb moisture. Avoid metal clasps or uncovered elastics, which can slice through fragile, damp strands.
How can I prevent my hair from smelling damp if I style it wet?
To prevent a “musty” smell, ensure your hair is clean before styling and don’t leave it in the style for more than a day. Using a lightweight, antimicrobial leave-in conditioner can help. If your hair is very thick, choose styles like loose braids that allow for more airflow to the scalp.
Will these styles leave me with waves when my hair dries?
Most of these styles, especially the braids and twists, act as a heatless setting method. When you take them down after the hair is completely dry, you will likely have soft waves or curls. This is a great way to achieve a styled look for the next day without using a curling iron.
Can I use styling products on wet hair before doing these listicle styles?
Absolutely. Applying a leave-in conditioner or a light hair oil to your damp ends before styling can provide an extra layer of protection. It helps seal the cuticle and prevents frizz as the hair air-dries inside the braid or bun.
How do I avoid “ponytail bumps” when styling wet hair?
The best way to avoid the dreaded indentation is to use a spiral “telephone cord” hair tie or a very thick silk scrunchie. These distribute the pressure over a wider area. Alternatively, using a claw clip instead of an elastic removes the circular pressure entirely, leaving no mark behind.