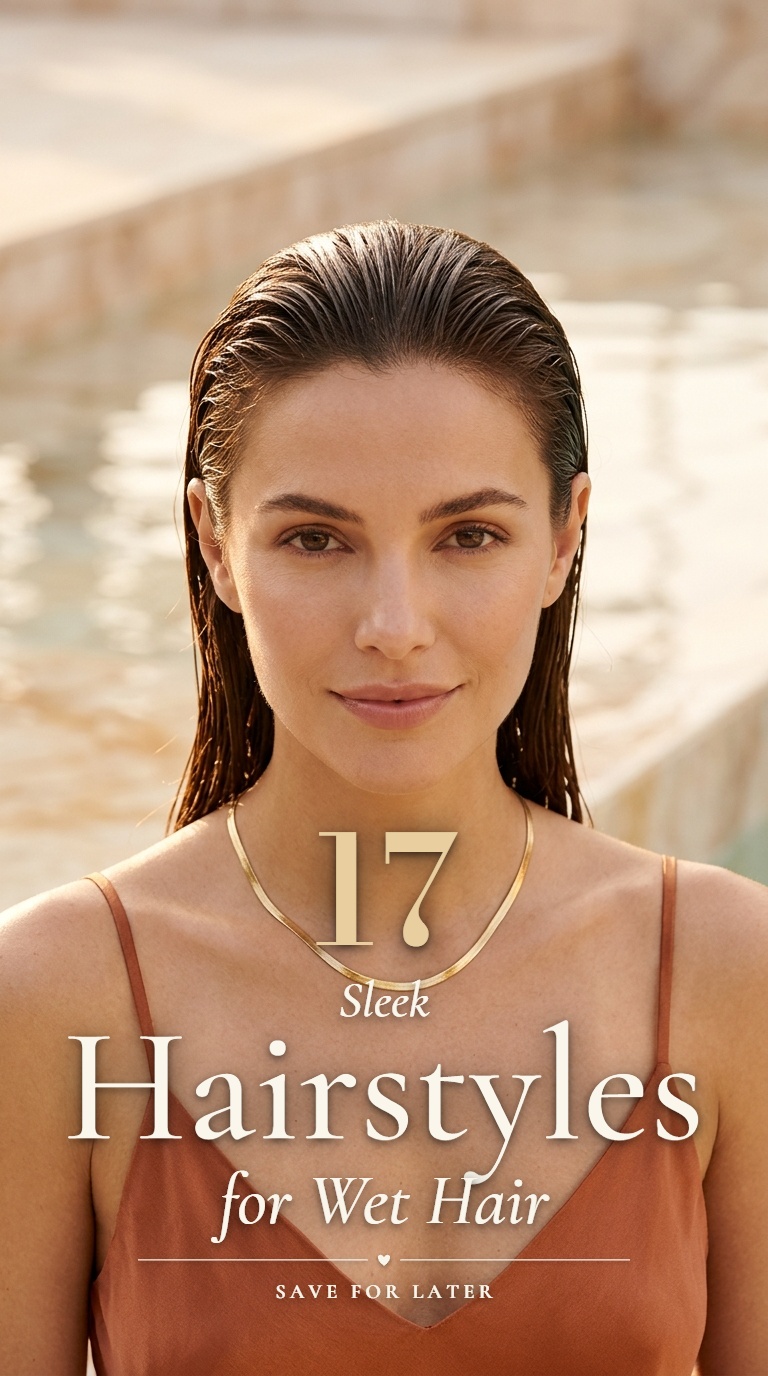
Mastering hairstyles for wet hair is the ultimate secret to looking polished when time is short. This approach turns damp strands into a deliberate, fashion-forward statement.
Whether you are heading to the office or a casual brunch, these looks provide a sophisticated finish. They help manage frizz while keeping the hair out of your face throughout the day.
The sleek aesthetic is versatile and easy to achieve with minimal tools. Using the right products ensures the style stays in place and maintains its high-shine appearance.
1. Low Bun Hairstyles for Wet Hair
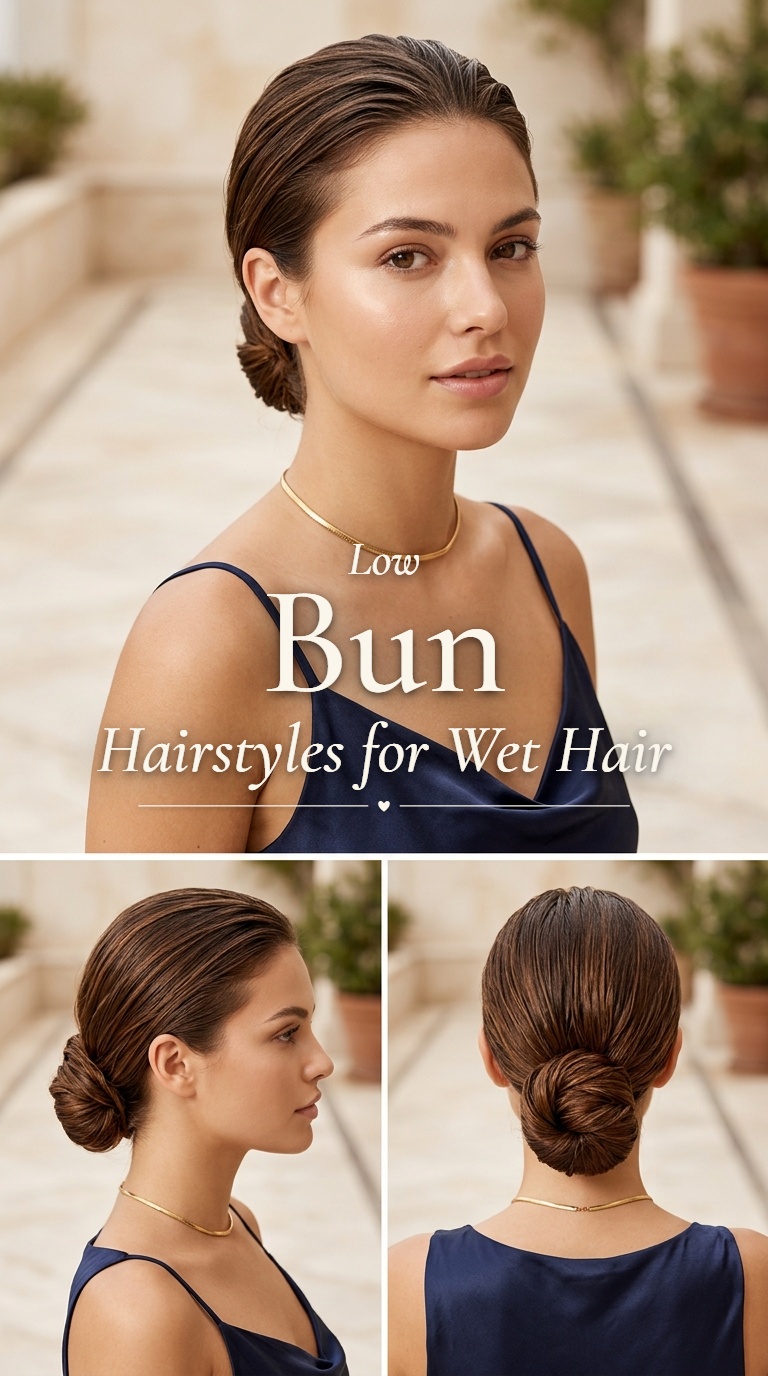
Start by combing damp strands straight back toward the nape of the neck. Use a wide-tooth comb to ensure there are no tangles before securing the base.
Gather the length into a tight ponytail and twist it into a circular coil. Secure the bun with a hair tie that matches your natural shade for a seamless look.
Apply a small amount of lightweight gel to the roots for extra hold. This prevents flyaways from appearing as the moisture evaporates throughout the hours.
2. High Ponytail Hairstyles for Wet Hair
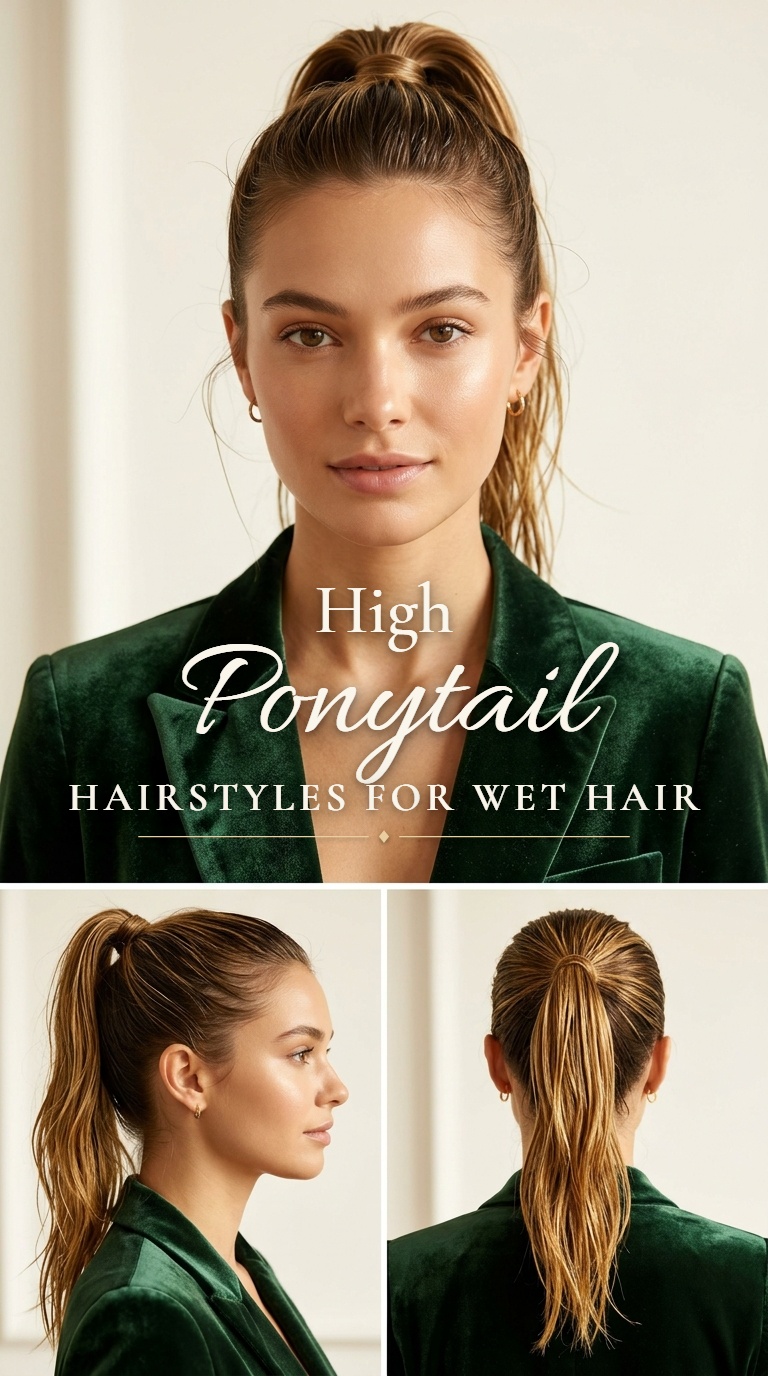
Flip the head over to gather all the hair at the crown for maximum height. Use a dense bristle brush to smooth out any bumps along the scalp.
Secure the ponytail tightly with a sturdy elastic to maintain the lift. Wrap a small section of hair around the base to hide the band for a professional finish.
Run a serum through the ends of the ponytail to keep them looking sharp. This method ensures the hair looks intentional and sleek rather than simply unfinished.
3. French Braided Hairstyles for Wet Hair
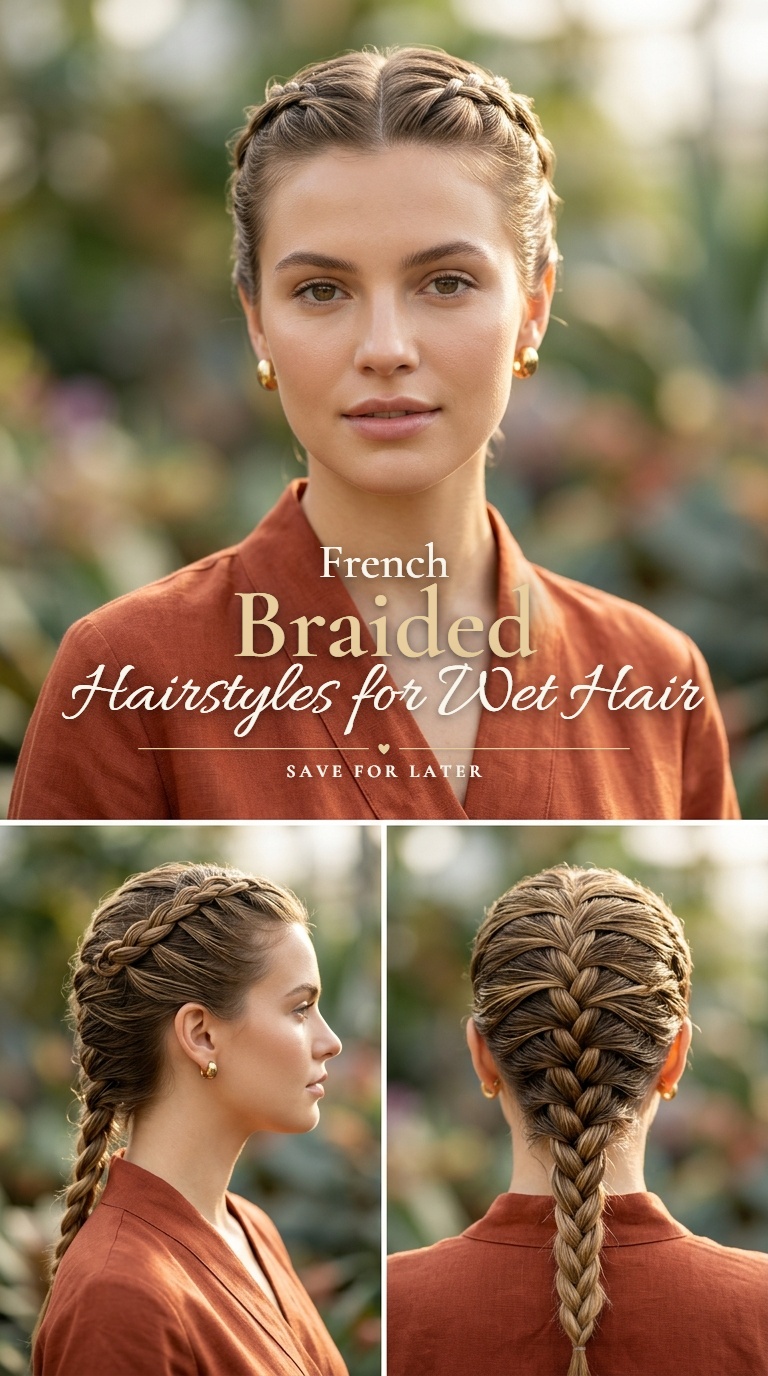
Section the hair into three even parts starting right at the hairline. Cross the sections over each other while adding more hair from the sides as you move down.
Keep the tension consistent to ensure the braid remains tight and secure against the scalp. This technique is excellent for controlling thicker textures while they are still damp.
Fasten the end with a small clear elastic to keep the focus on the weave. This style transitions beautifully from a daytime look to soft waves once the hair dries.
4. Slicked Back Hairstyles for Wet Hair
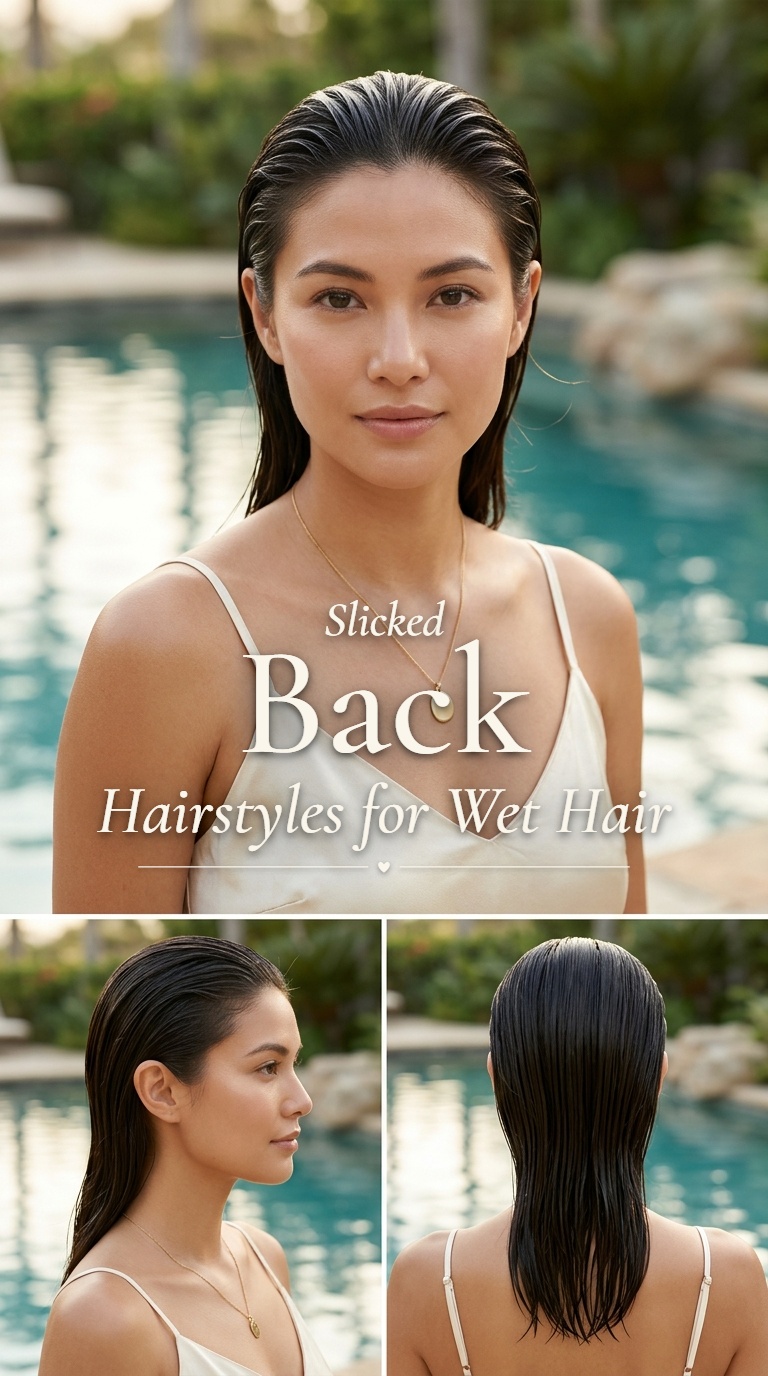
Apply a generous amount of hair cream from the roots to the mid-lengths. Use a fine-tooth comb to push all the hair directly away from the forehead.
Ensure the sides are tucked neatly behind the ears for a clean profile. This minimalist approach highlights the facial features without the distraction of stray strands.
A high-shine spray can be used to set the look in place. It provides a glass-like finish that mimics the appearance of freshly stepped-out-of-the-shower hair.
5. Double Dutch Braid Wet Hair Look
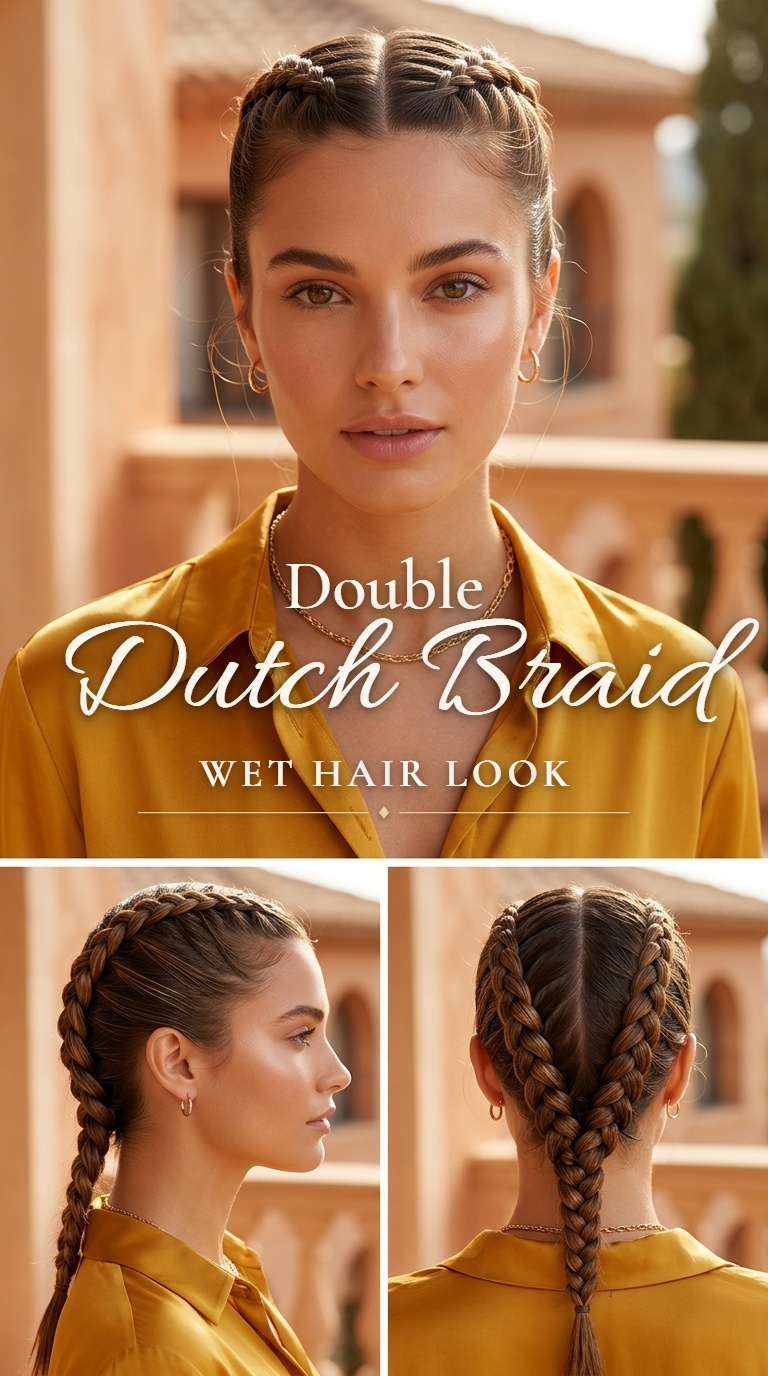
Create a precise middle part from the forehead down to the base of the neck. Secure one side while you work on the other to keep the part clean.
Begin braiding by crossing sections under each other to create a 3D effect on top of the head. This keeps the hair very secure and prevents it from loosening.
Repeat the process on the second side, ensuring the braids are symmetrical in height. This is a durable option for active days or humid weather conditions.
6. Side Parted Wet Hair Style
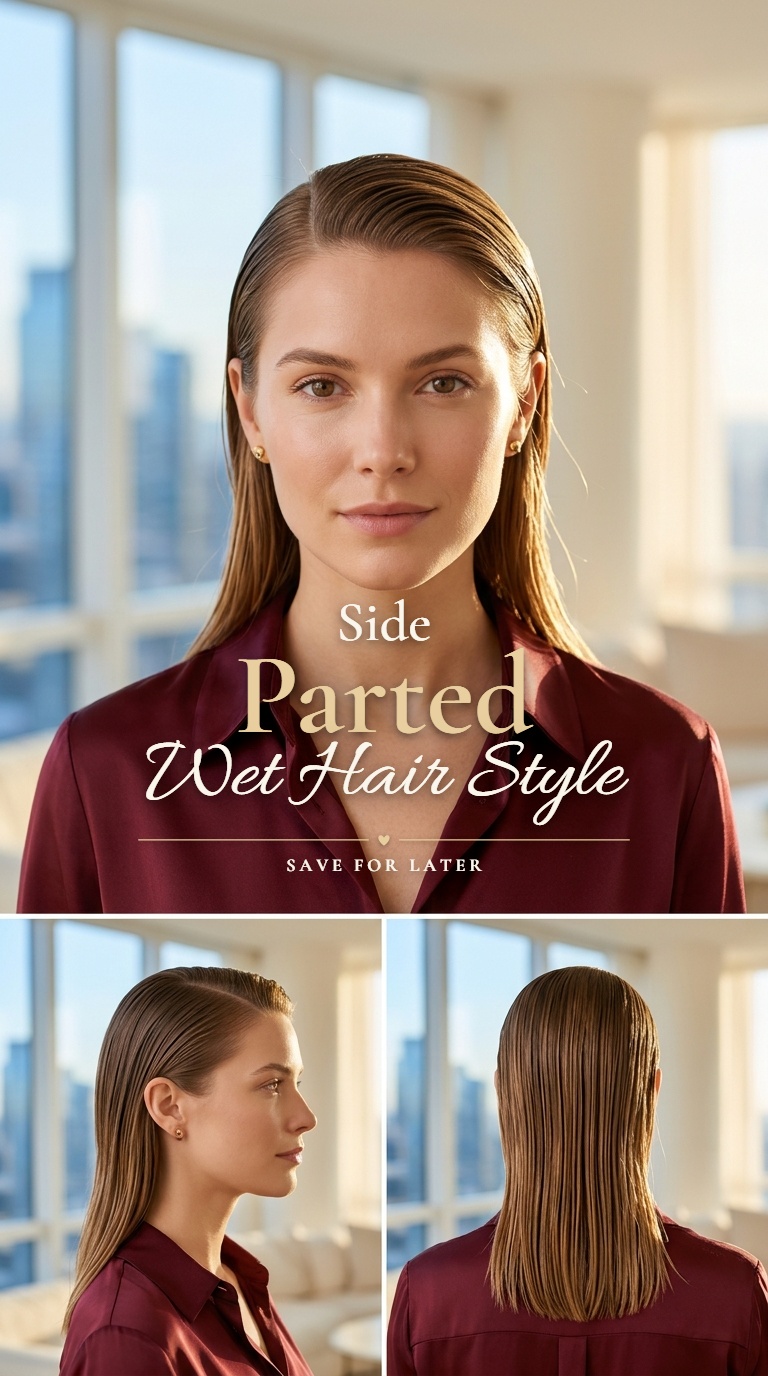
Identify the highest point of the eyebrow to determine where to place the deep side part. Use the tail of a comb to create a sharp, straight line.
Smooth the hair down on both sides, allowing the larger section to sweep slightly across the brow. This adds a touch of classic sophistication to a simple wet look.
Tuck the side with less hair firmly behind the ear to create an asymmetrical balance. A strong-hold pomade helps maintain the crispness of the part all day.
7. Middle Part Hairstyles for Wet Hair
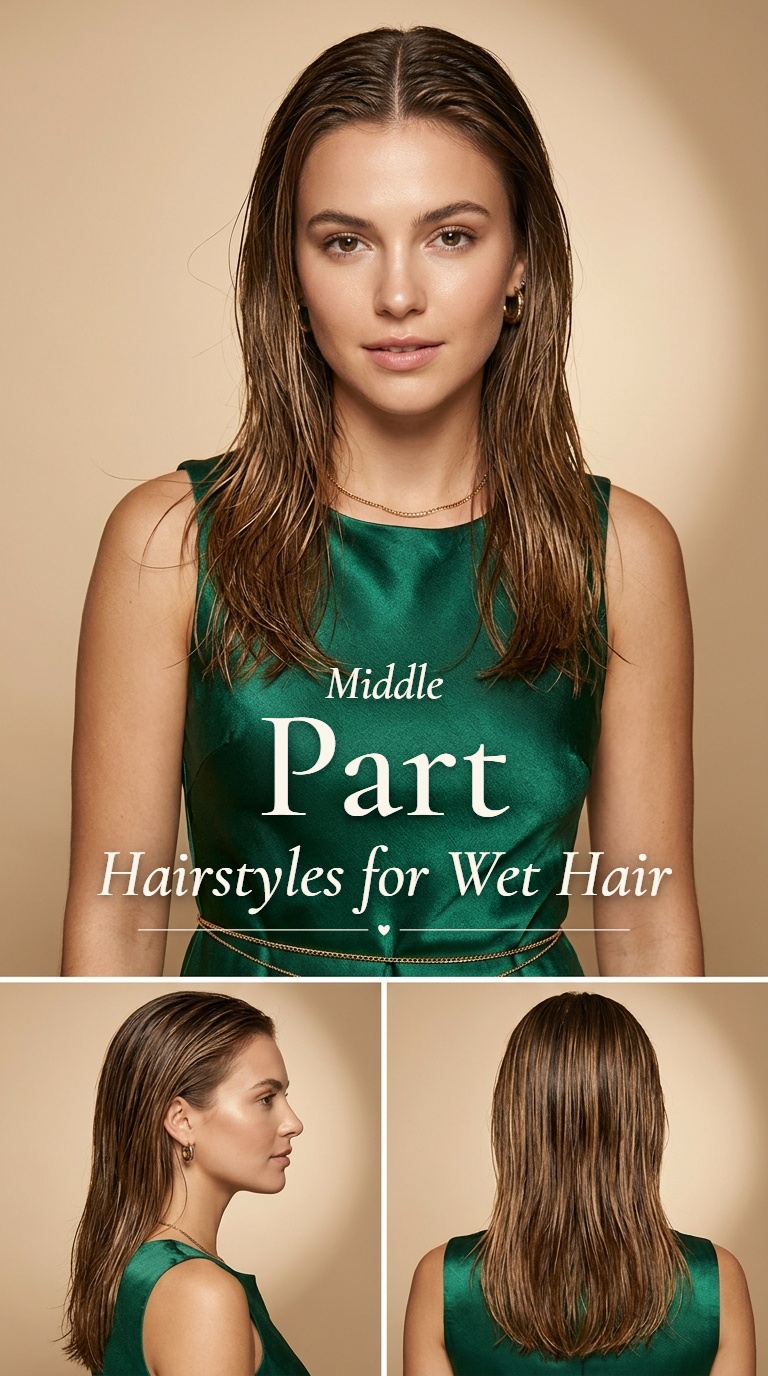
Center the part exactly in the middle of the scalp for a symmetrical and modern appearance. Comb the hair down flat on either side of the head.
This look works exceptionally well for those who prefer a balanced and structured aesthetic. It is a quick way to look put-together with very little effort.
Keep the ends straight or tuck them behind the shoulders to emphasize the length. Use a light mist of water if any sections begin to dry too quickly during styling.
8. Twisted Bun Hairstyles for Wet Hair
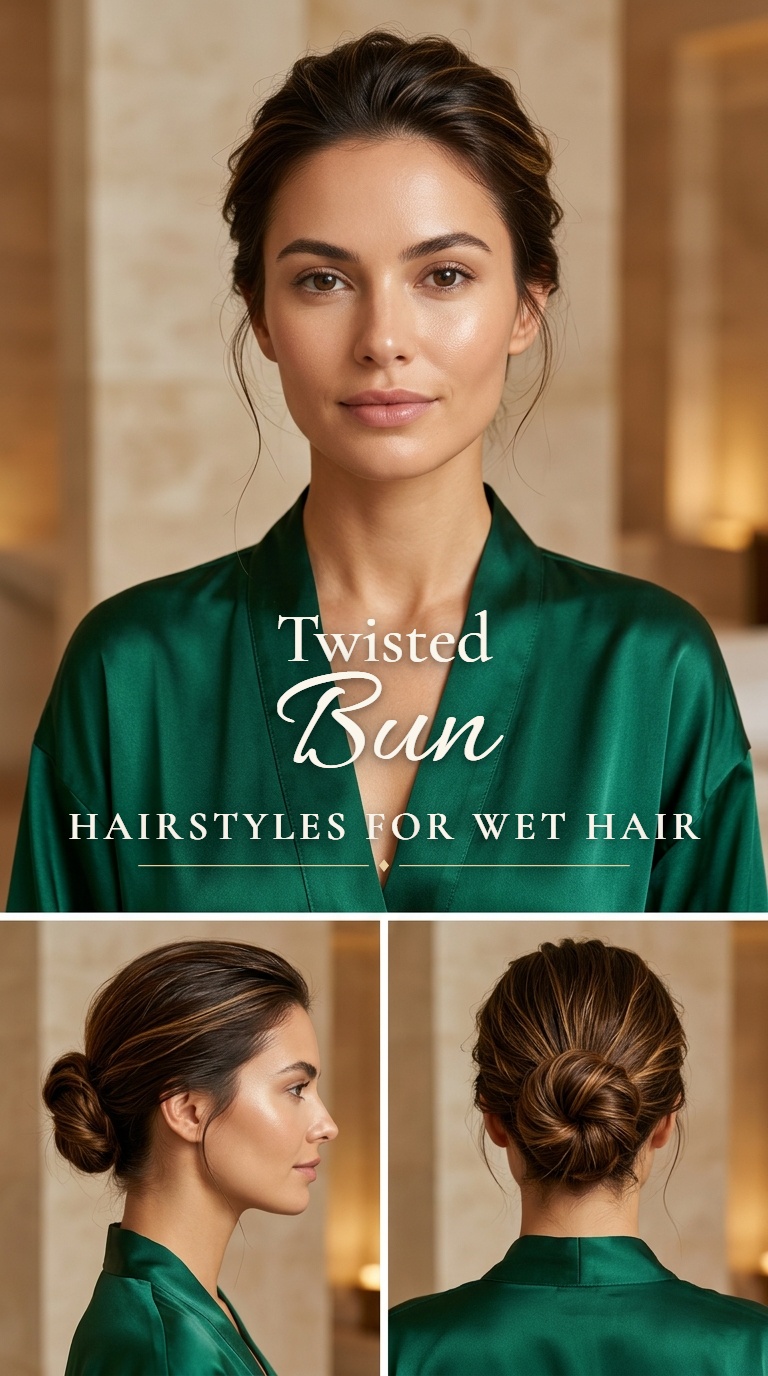
Gather the hair into a mid-level ponytail and split the length into two equal sections. Twist both sections individually before wrapping them around each other.
Coil the combined twist into a bun and secure it with several U-shaped pins. The twisting motion adds visual interest and texture to the otherwise smooth style.
This method is particularly effective for keeping long hair contained and tidy. It prevents the bun from looking flat or shapeless while the hair is wet.
9. Space Buns Hairstyles for Wet Hair
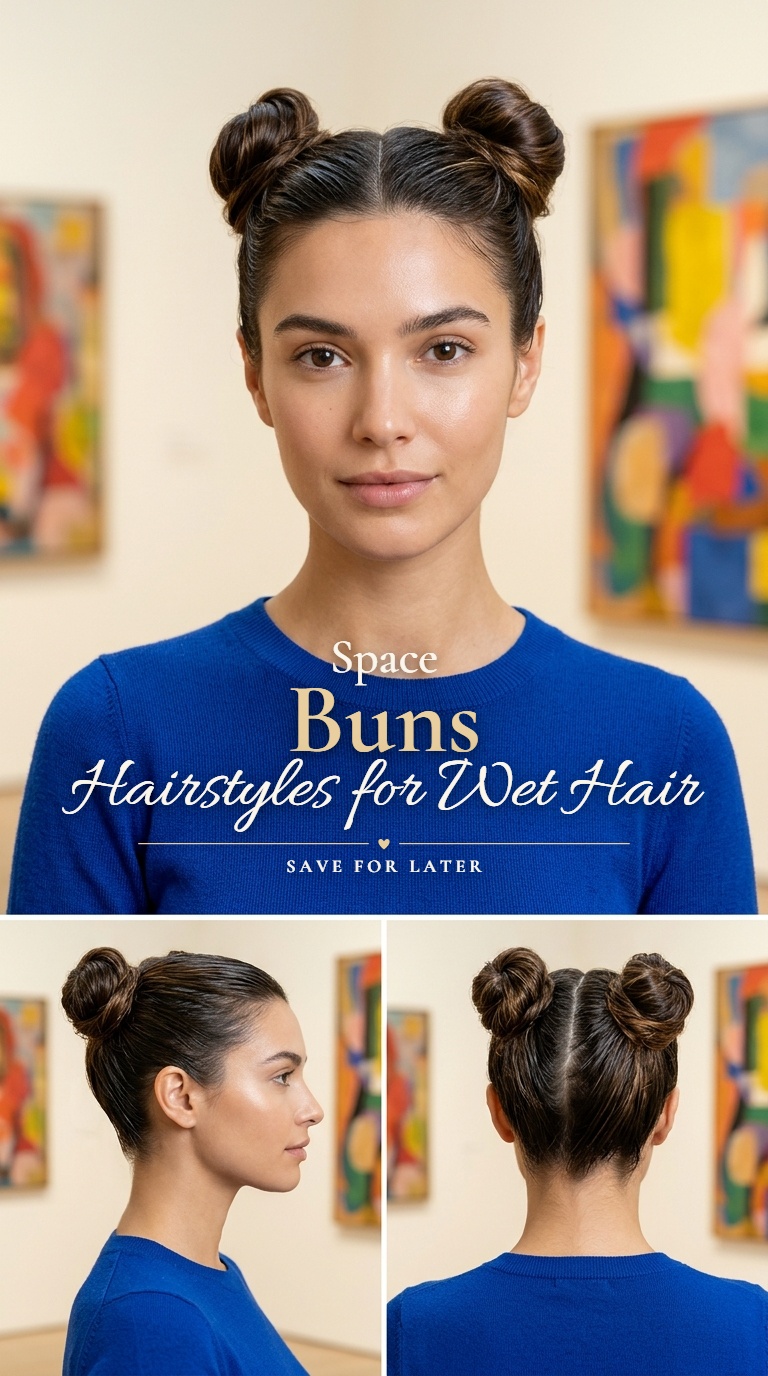
Divide the hair into two even sections using a vertical part down the back. Position two high ponytails on either side of the crown.
Twist each ponytail into a compact bun and secure them firmly at the base. This playful look is functional for keeping hair completely off the neck.
Apply a smoothing balm to the base of each bun to ensure the scalp looks neat. It is a modern choice for those who enjoy a more creative silhouette.
10. Bubble Ponytail Wet Hair Style
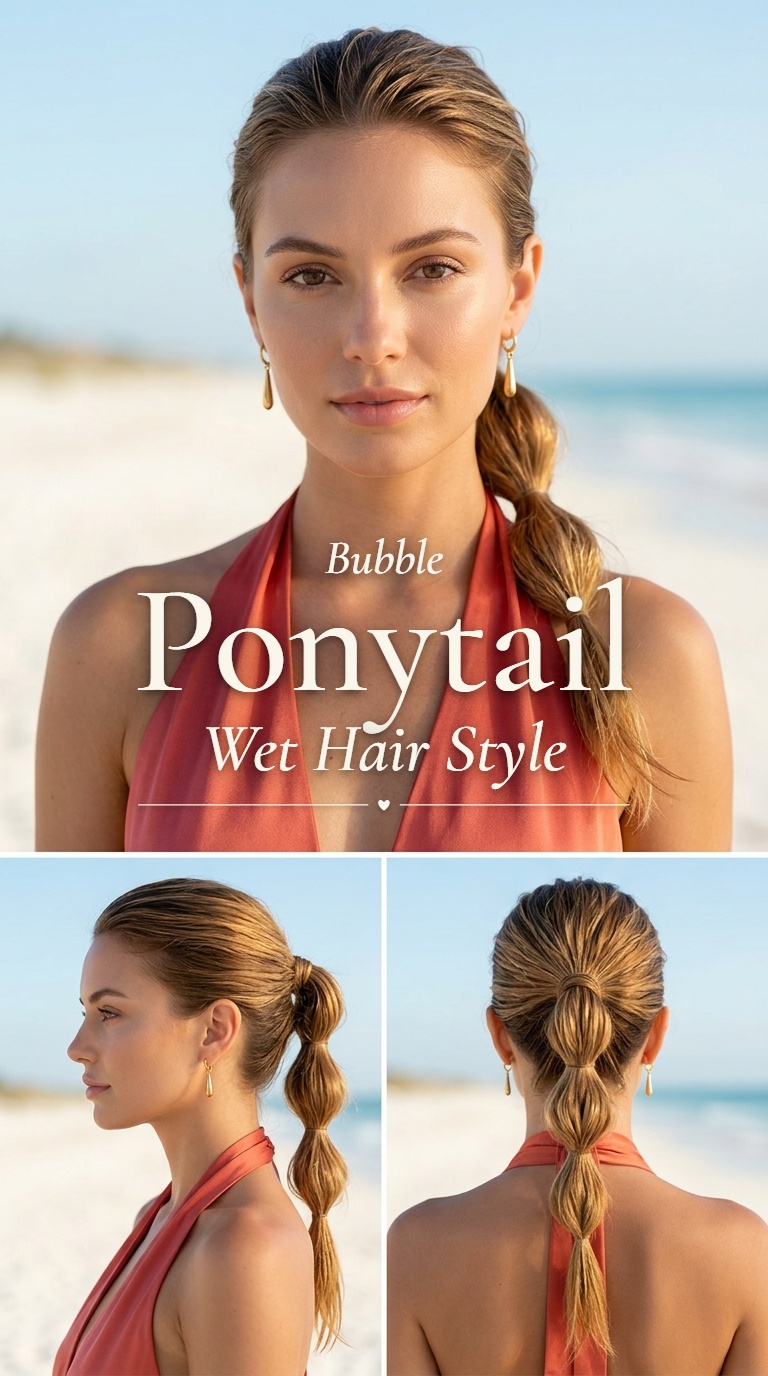
Start with a standard high or mid-level ponytail secured with a strong elastic. Place additional elastics every two inches down the length of the tail.
Gently tug at the sections between the elastics to create a rounded, bubble-like effect. Since the hair is wet, the bubbles will remain very defined and sleek.
This style is perfect for preventing tangles in long hair throughout the day. It offers a contemporary twist on the traditional ponytail with very little extra work.
11. Half Up Hairstyles for Wet Hair
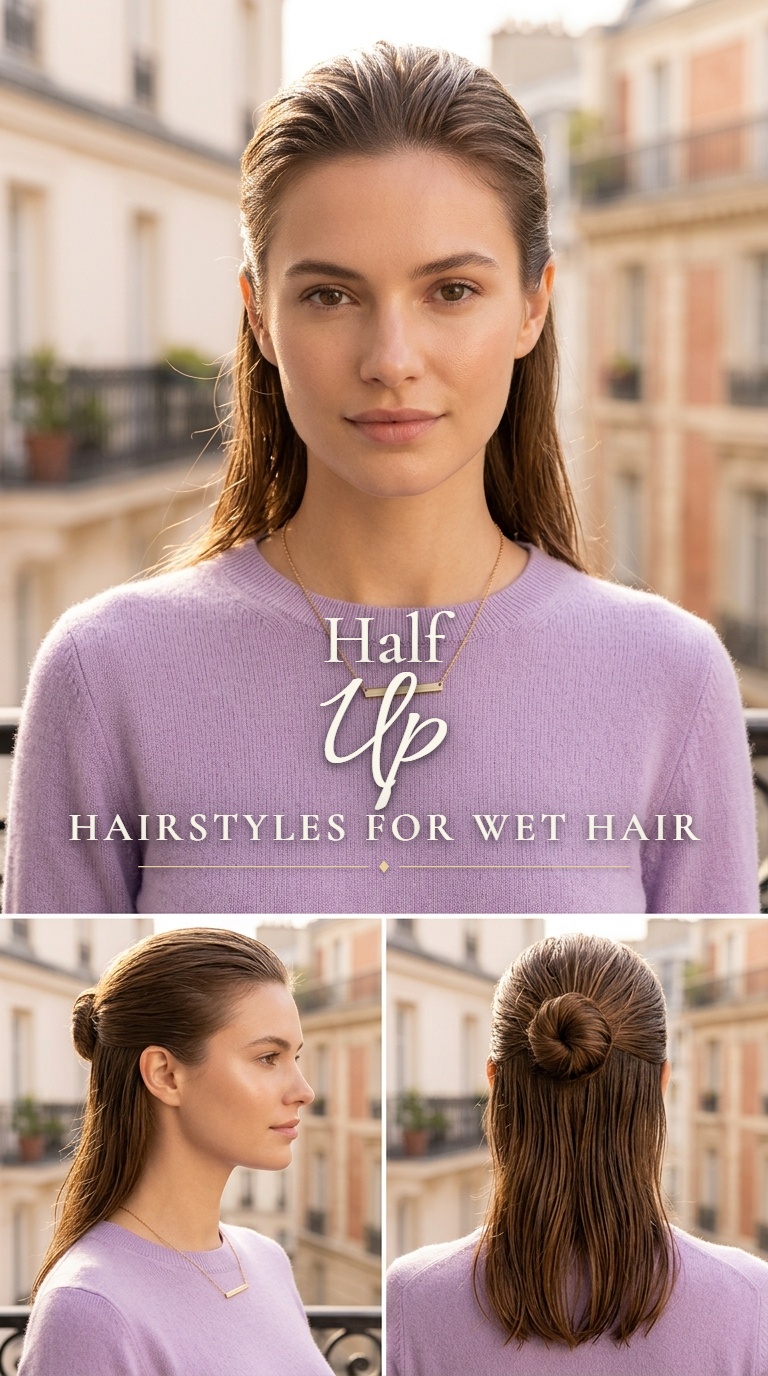
Section off the top half of the hair, starting from just above the ears. Pull this section back and secure it with a clip or a tie.
Leave the bottom half hanging straight down the back for a relaxed yet controlled look. This keeps hair away from the face while showing off the length.
Ensure the top section is smoothed down with a comb to avoid any unwanted volume. It creates a nice contrast between the structured top and the flowing bottom.
12. Fishtail Braid Wet Hair Look
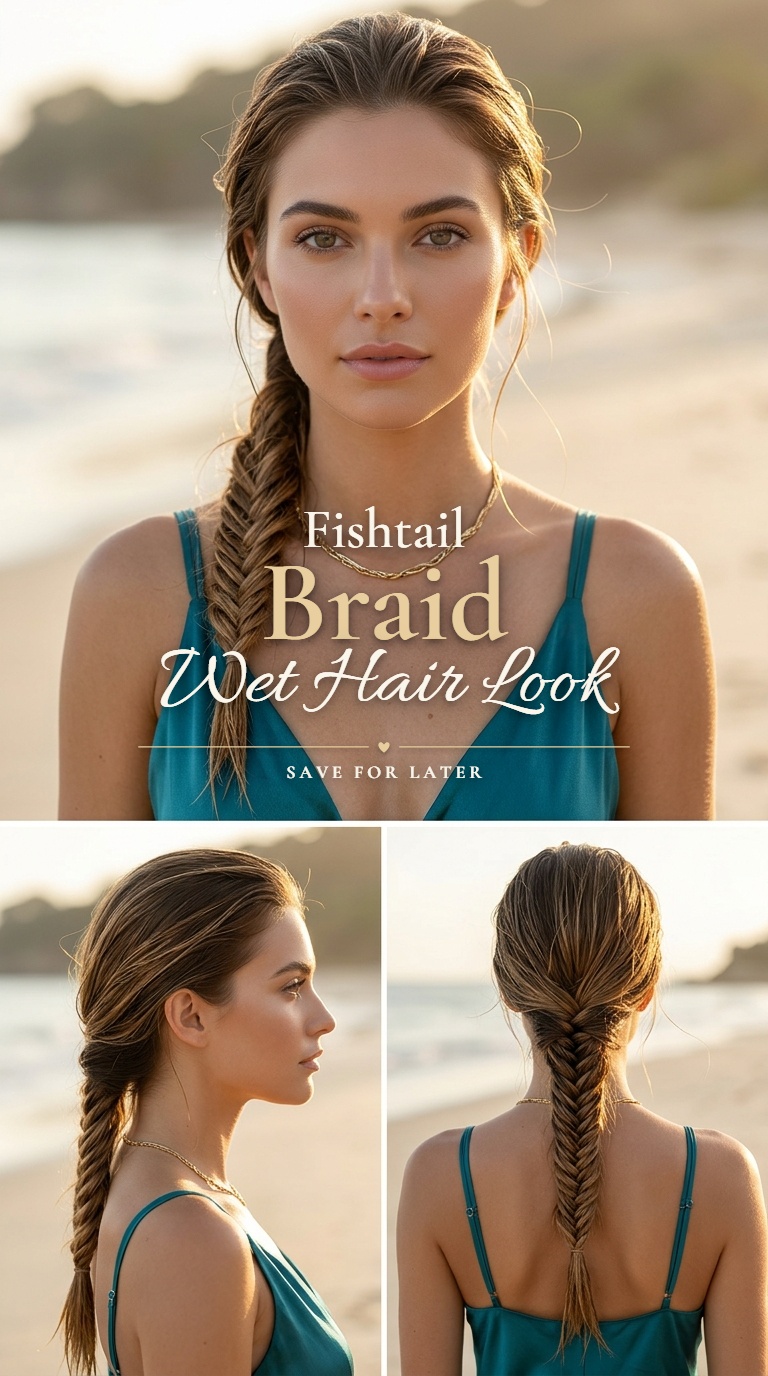
Split the damp hair into two large sections rather than the traditional three. Take a small piece from the outside of one section and cross it over.
Repeat the movement on the other side, slowly building an intricate, woven pattern. The wetness of the hair makes it easier to keep the small strands separated.
Pull the braid tight as you go to maintain a sleek and narrow profile. This look is often admired for its complex appearance despite being simple to execute.
13. Triple Twisted Wet Hair Style
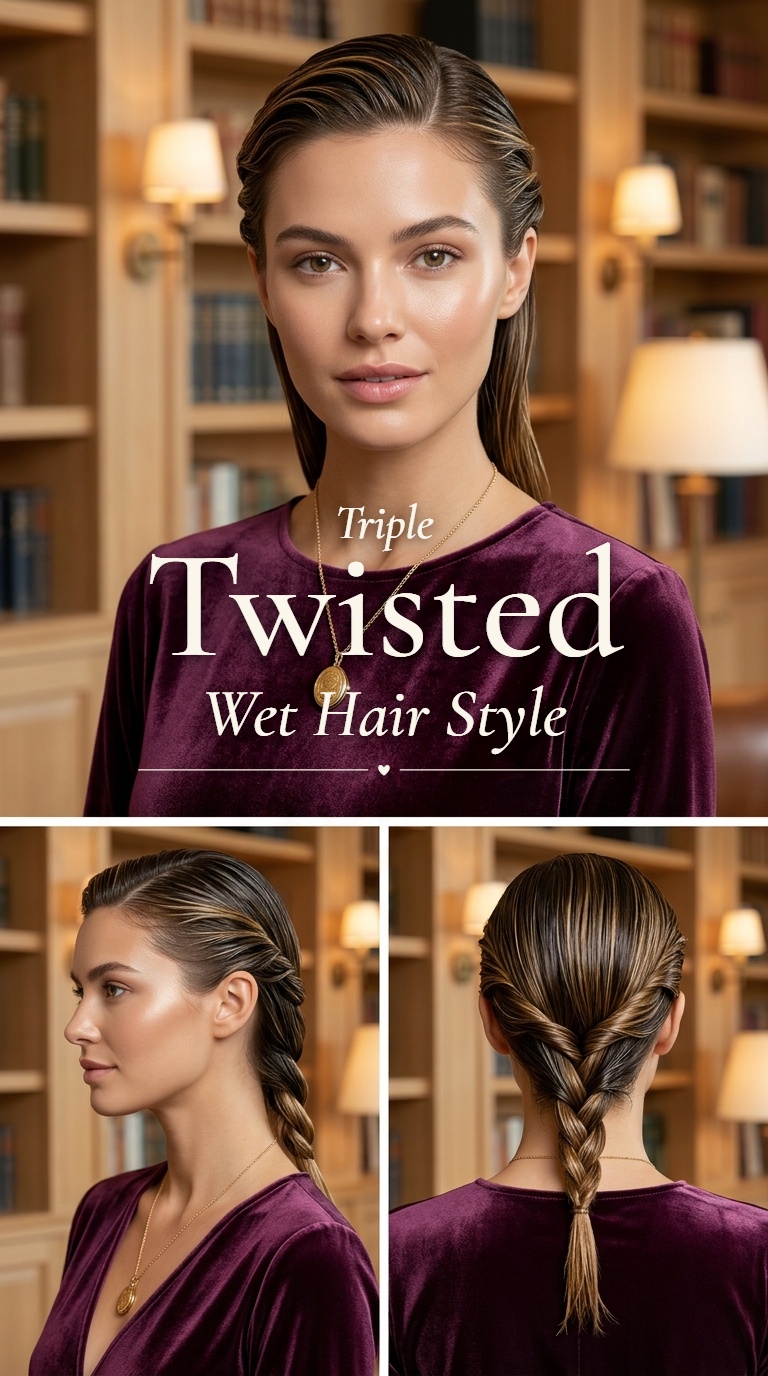
Divide the hair into three horizontal sections starting from the top of the head. Twist the first section and pin it securely in the middle.
Incorporate the ends of the first twist into the second section and repeat the process. Finally, gather everything into a low twist or bun at the bottom.
This tiered effect provides a unique architectural look that handles wet hair brilliantly. It distributes the weight of the water evenly across the scalp.
14. High Sleek Wet Hair Look
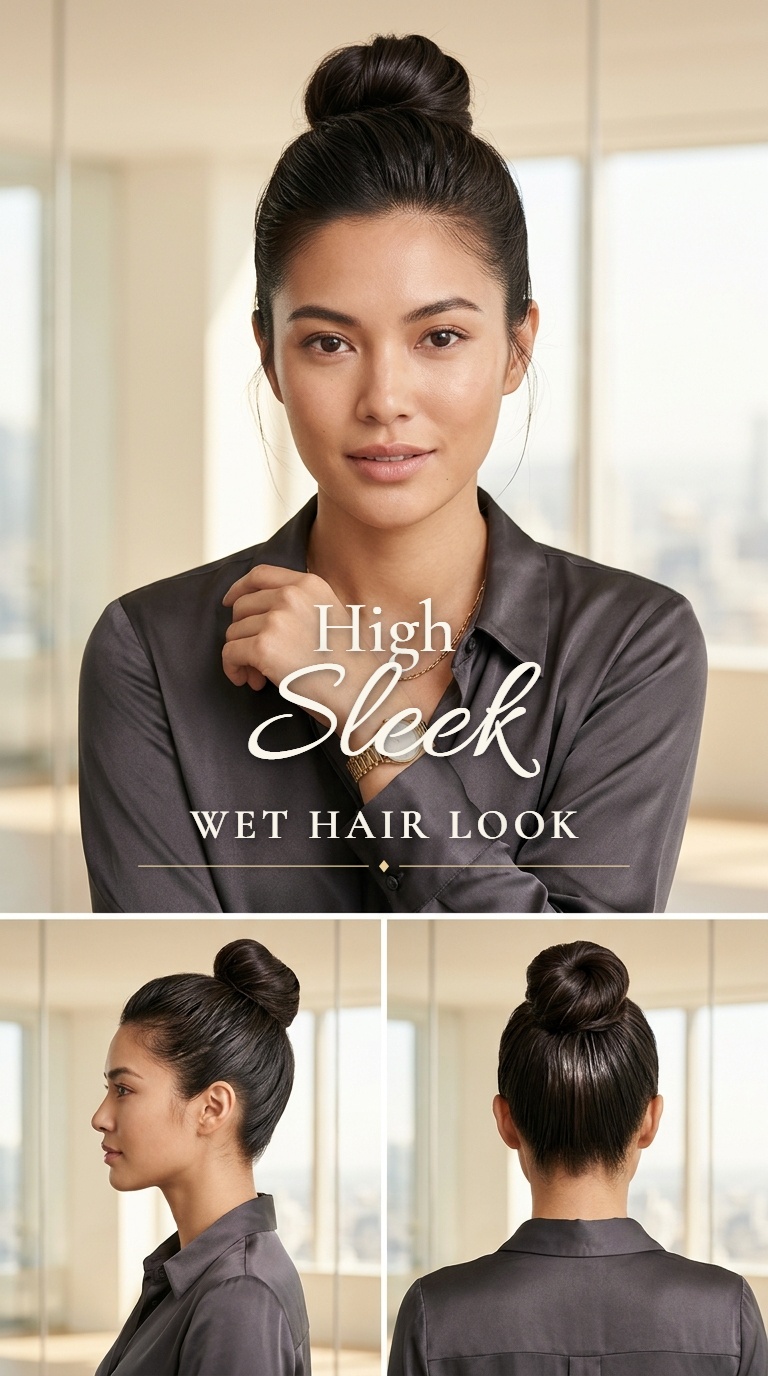
Brush all the hair upward to the very top of the head for a bold statement. Use a firm-hold gel to ensure the sides and back remain perfectly flat.
Secure the bundle with a thick elastic to keep the style from sagging. This look is often seen on runways because of its sharp and clean lines.
Smooth the ends of the hair with a comb to keep them uniform. This version of the wet look is ideal for those who want a dramatic and tall profile.
15. Braided Pigtail Hairstyles for Wet Hair
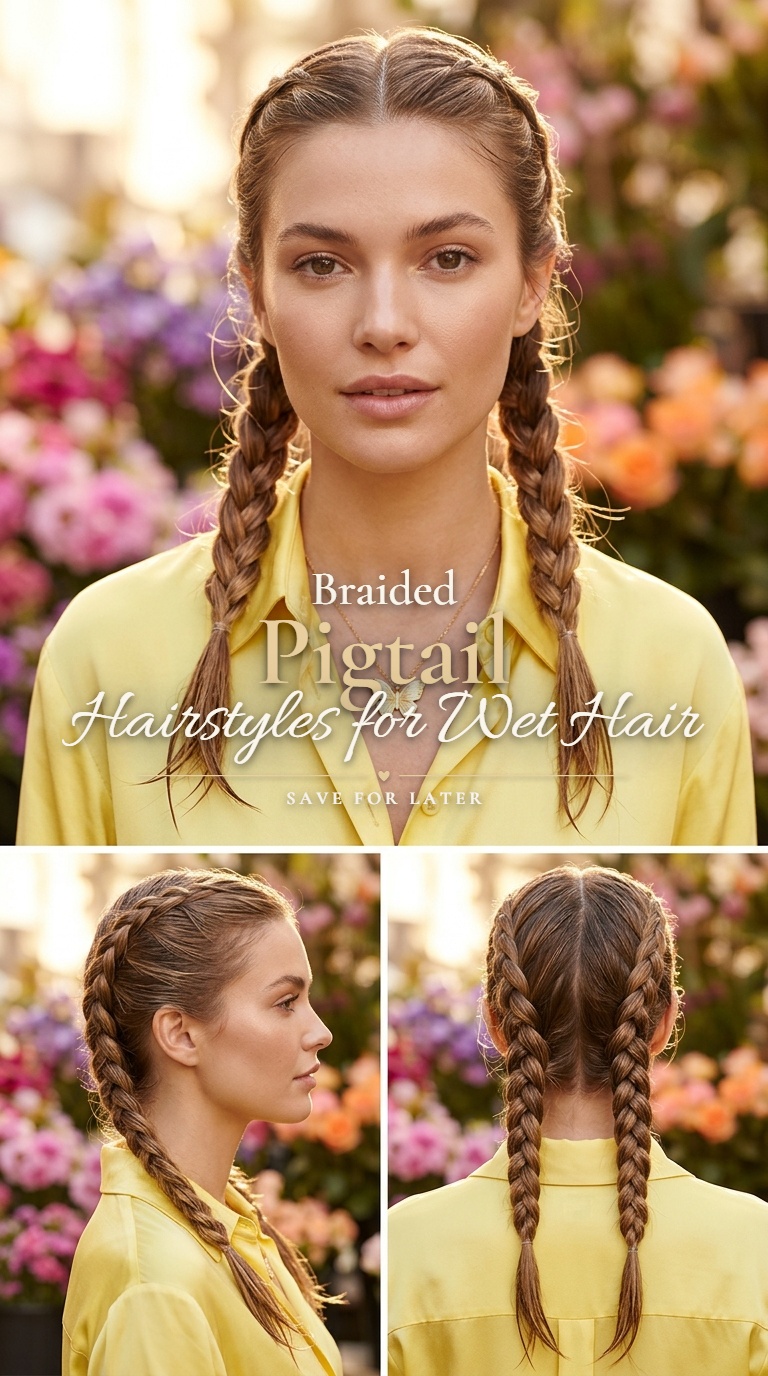
Create two even sections with a clean part and begin a standard three-strand braid on each side. Start the braid at the base of the ears.
Maintain a tight weave to ensure the braids look deliberate and not messy. This is a practical choice for outdoor activities or for keeping hair managed.
Tie the ends with matching elastics for a coordinated look. The braids will help the hair dry in uniform waves if taken down later in the day.
16. Low Braided Bun Wet Hair Style
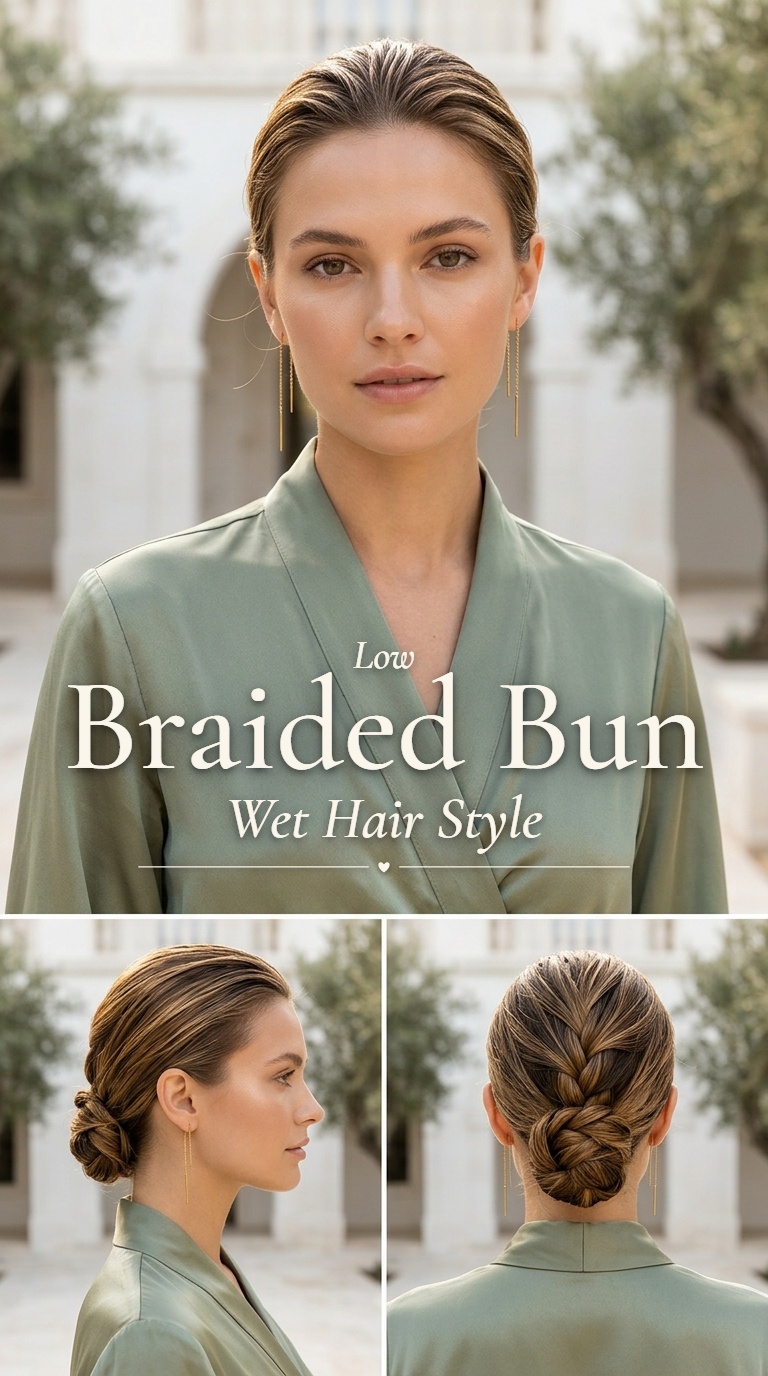
Braid a low ponytail into a simple three-strand pattern before securing the end. Wrap the braid around its own base to form a textured bun.
Use hair pins to tuck the tail of the braid underneath the bun for a clean finish. This combination of techniques adds depth to the low-profile style.
The braided texture reflects light differently, giving the wet hair a multi-dimensional look. It is a secure option that stays in place during high movement.
17. Slicked Back Bob Wet Hair Style
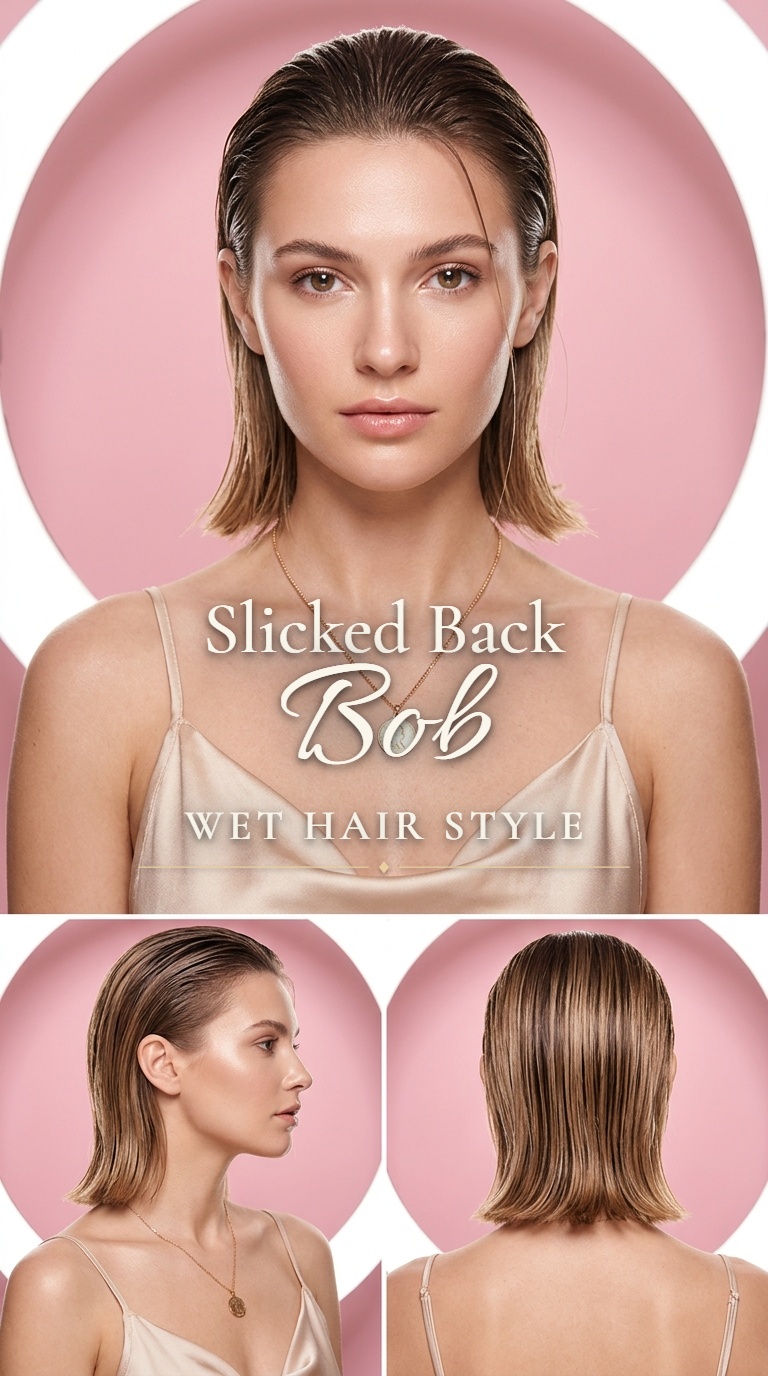
For shorter lengths, apply product evenly from the roots to the ends. Comb everything straight back, ensuring the hair behind the ears stays flat.
Use a small amount of wax on the ends to keep them from flipping outward as they dry. This creates a modern, edgy aesthetic that is very easy to maintain.
If the hair is particularly thick, use discreet bobby pins behind the ears to hold the shape. This ensures the sleek profile remains intact throughout the day.
How to style hairstyles for wet hair?
Begin by towel-drying the hair so it is damp but not dripping. Apply a smoothing cream or gel to maintain the sleekness and use a fine-tooth comb for precision.
Are hairstyles for wet hair damaging?
Styling hair while wet is generally safe as long as you avoid excessive tension. Use soft elastics and avoid pulling the hair too tightly at the roots to prevent breakage.
What products are best for hairstyles for wet hair?
Lightweight gels, leave-in conditioners, and shine serums work best. These products help lock in moisture and prevent the hair from becoming frizzy as it eventually dries.
How do I keep hairstyles for wet hair sleek?
The key is to use a comb to distribute product evenly from root to tip. For a long-lasting finish, a light mist of hairspray can help secure any flyaways.
Can I do hairstyles for wet hair with short hair?
Yes, short hair is well-suited for slicked-back or side-parted styles. Using a pomade or wax can help shorter strands stay in place and maintain a polished look.
Why choose hairstyles for wet hair for busy mornings?
These styles save time by eliminating the need for blow-drying or heat styling. They provide an intentional, high-fashion look that is both practical and professional.